Map Merging
Map merging combines an existing HD Map (target map) and an additional map (source map) into a single map. When an incorrect registration occurs during Map Aggregation and the map is broken, the user visually identifies the issue, manually loads the maps to combine, and merges them.

Workflow
-
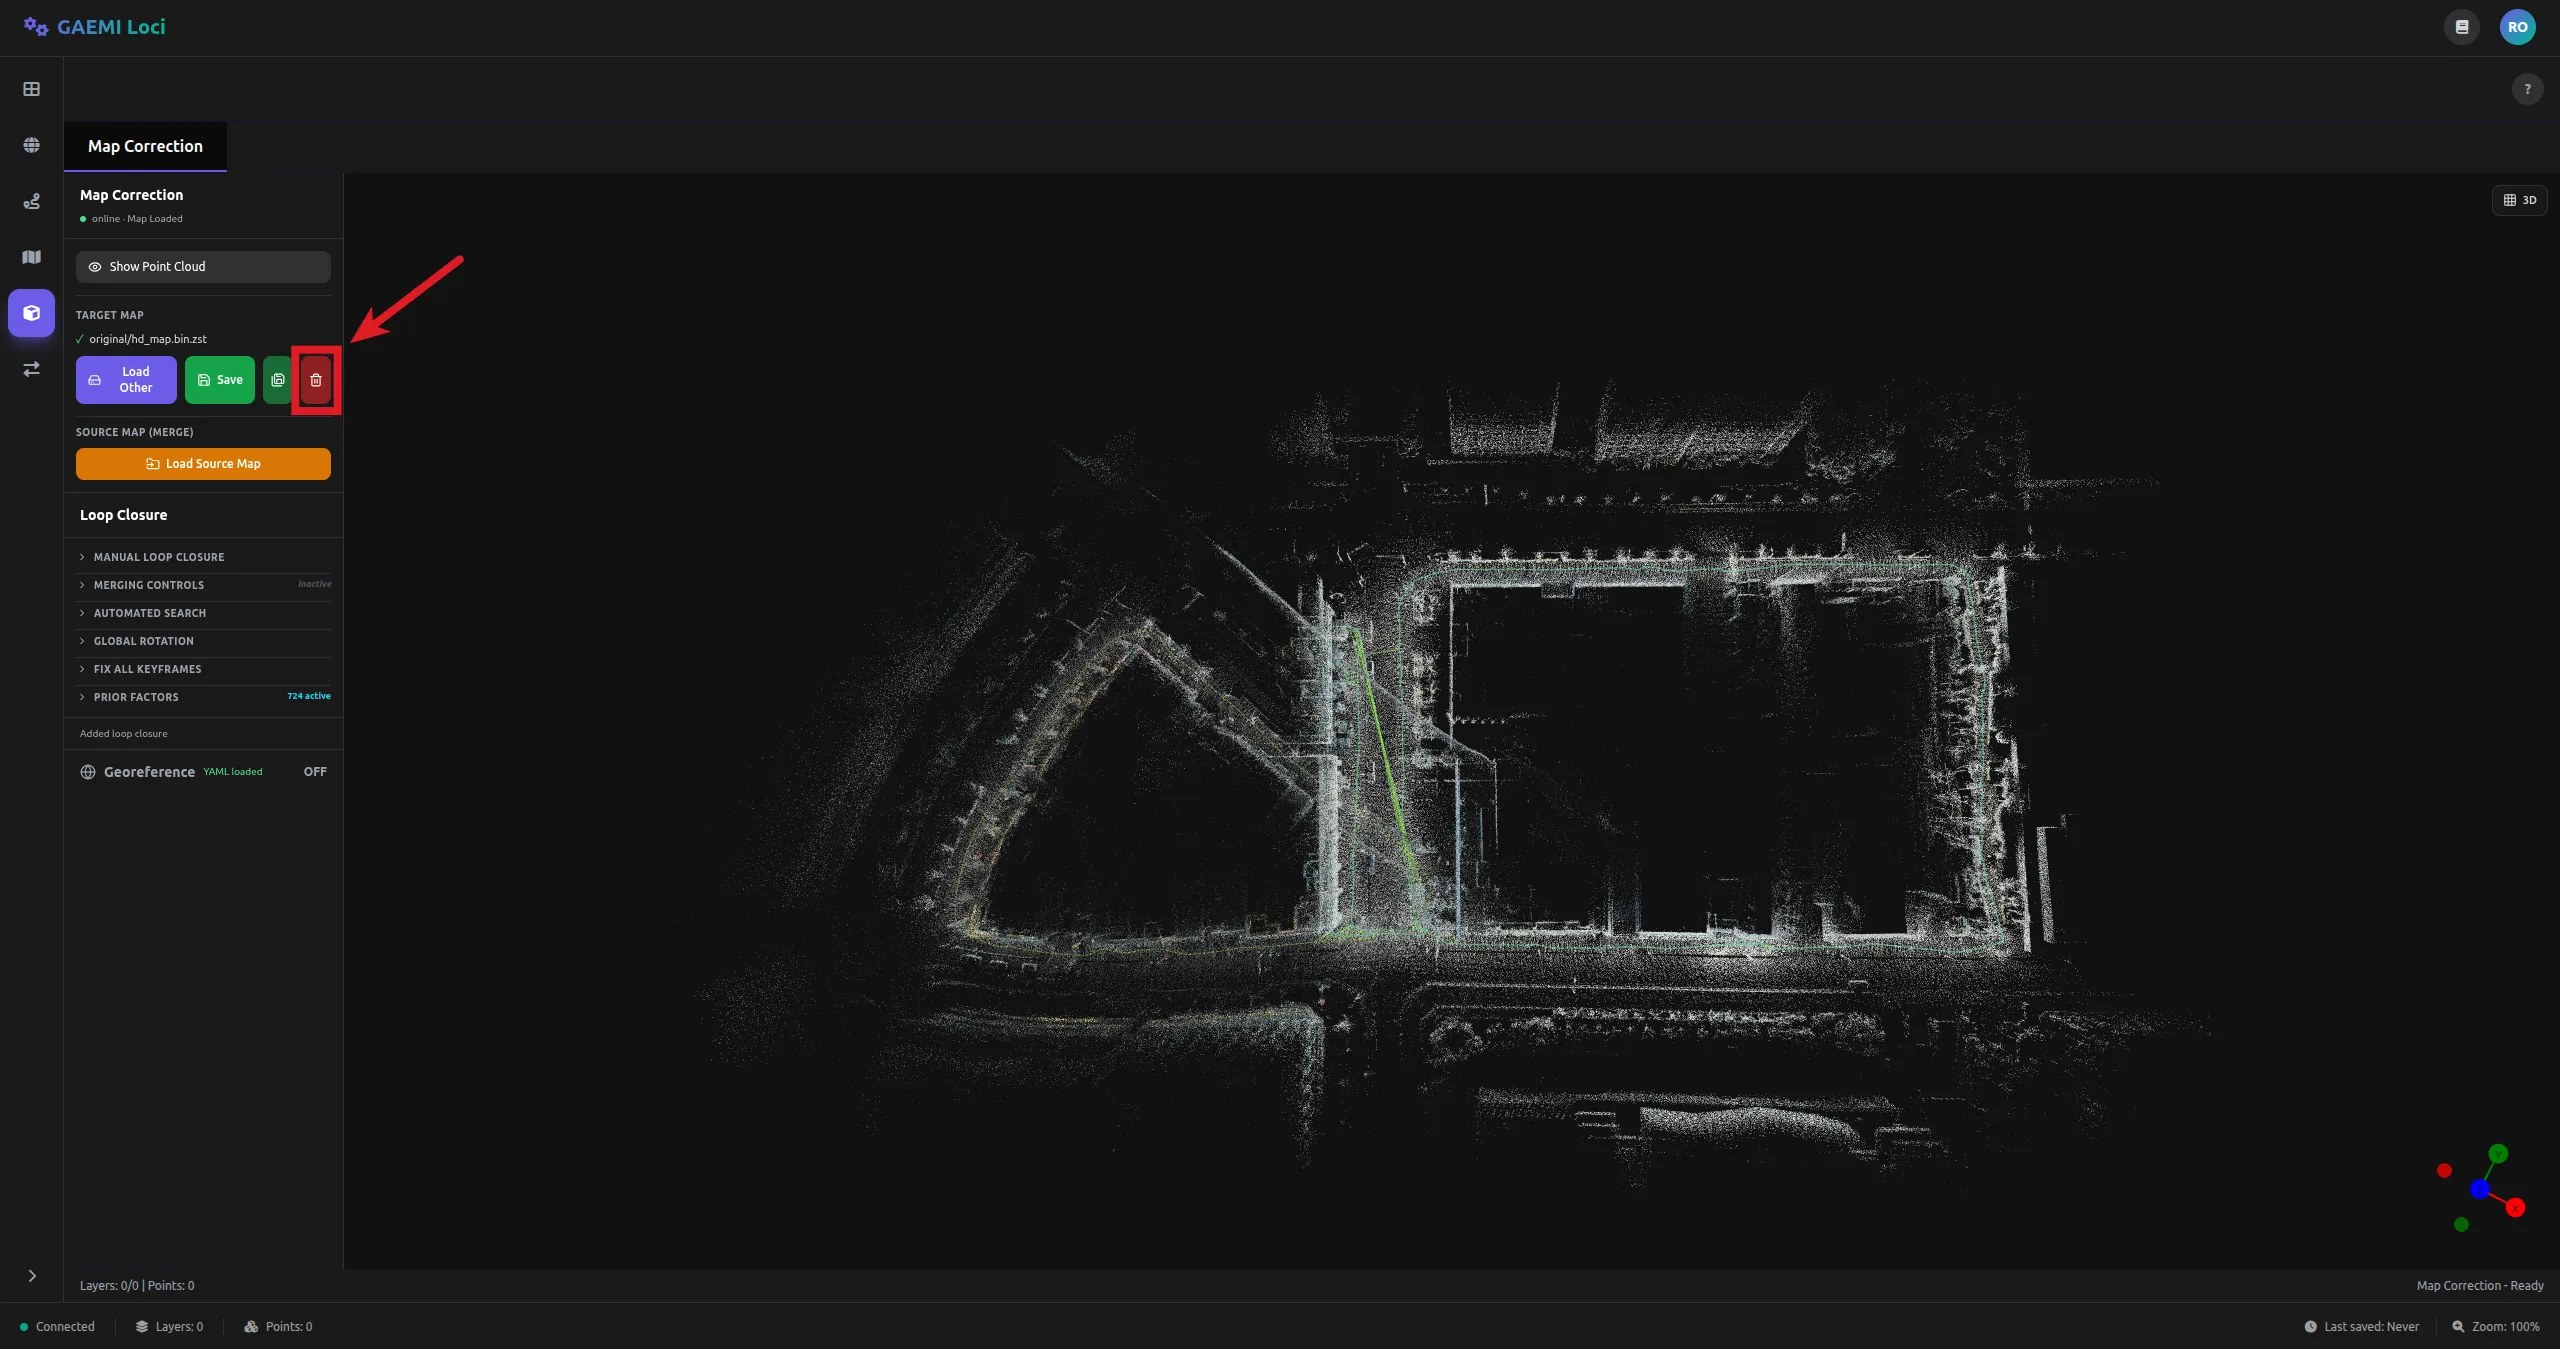
Visually inspect the map that Map Aggregation loaded automatically to check for incorrect registration, then click the Clear button to reset the map.
-
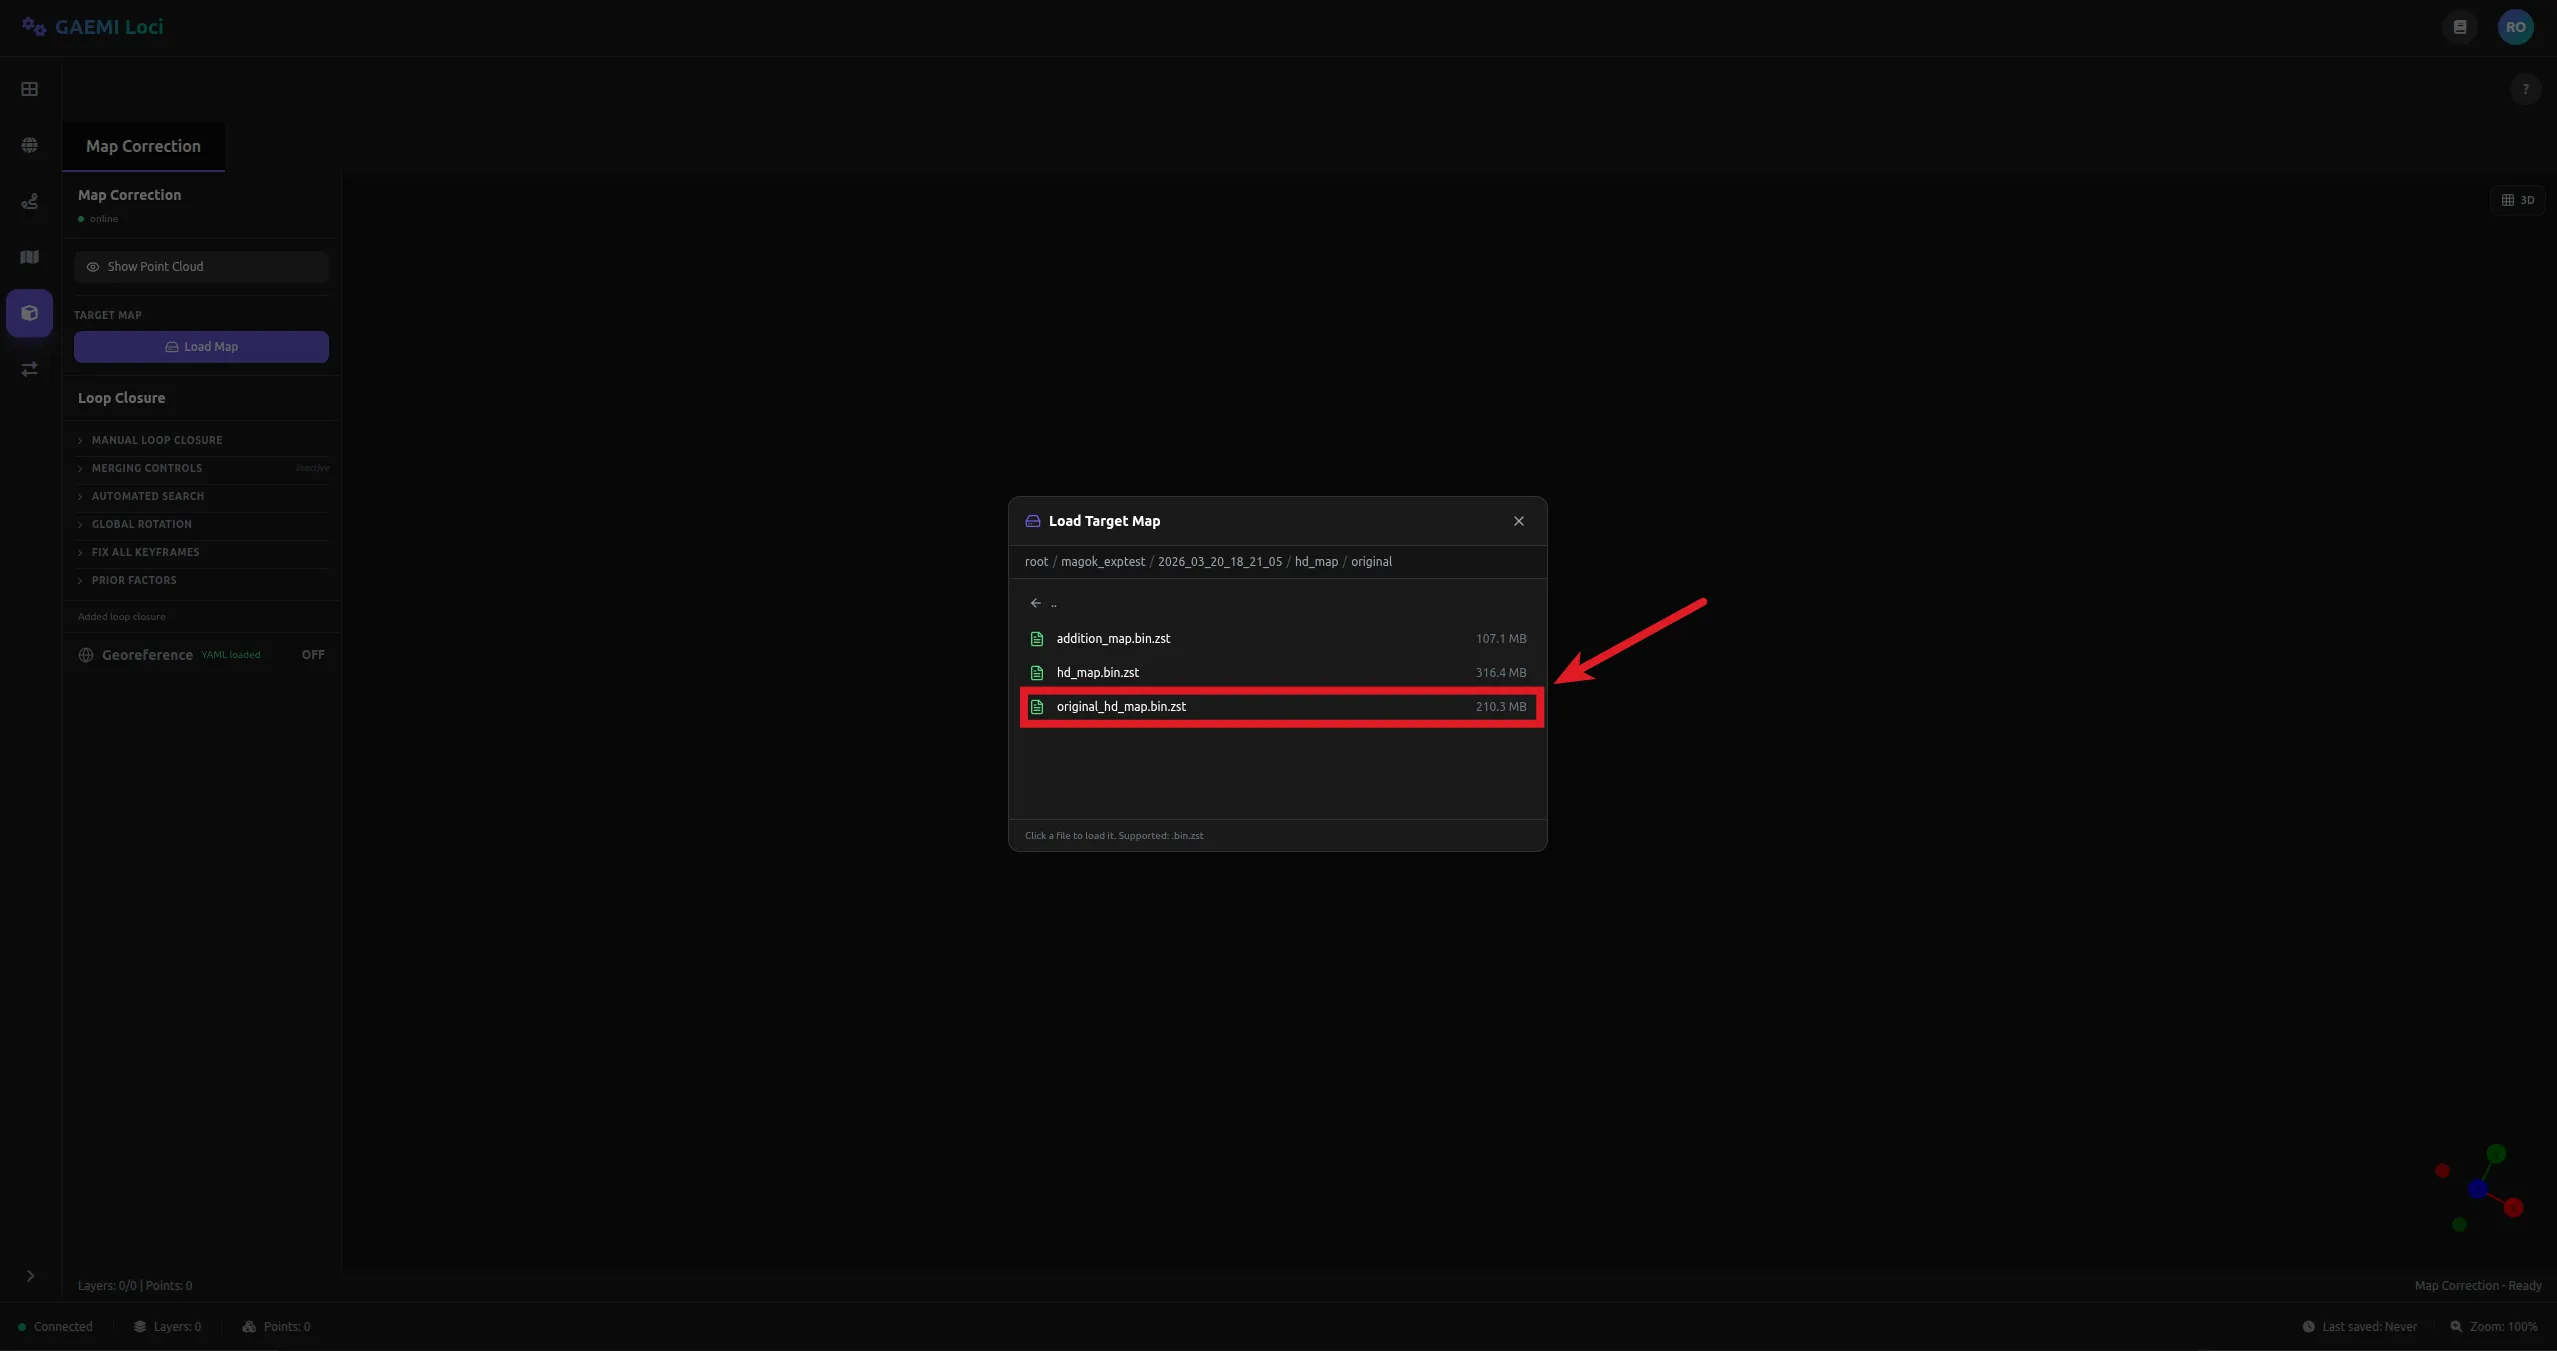
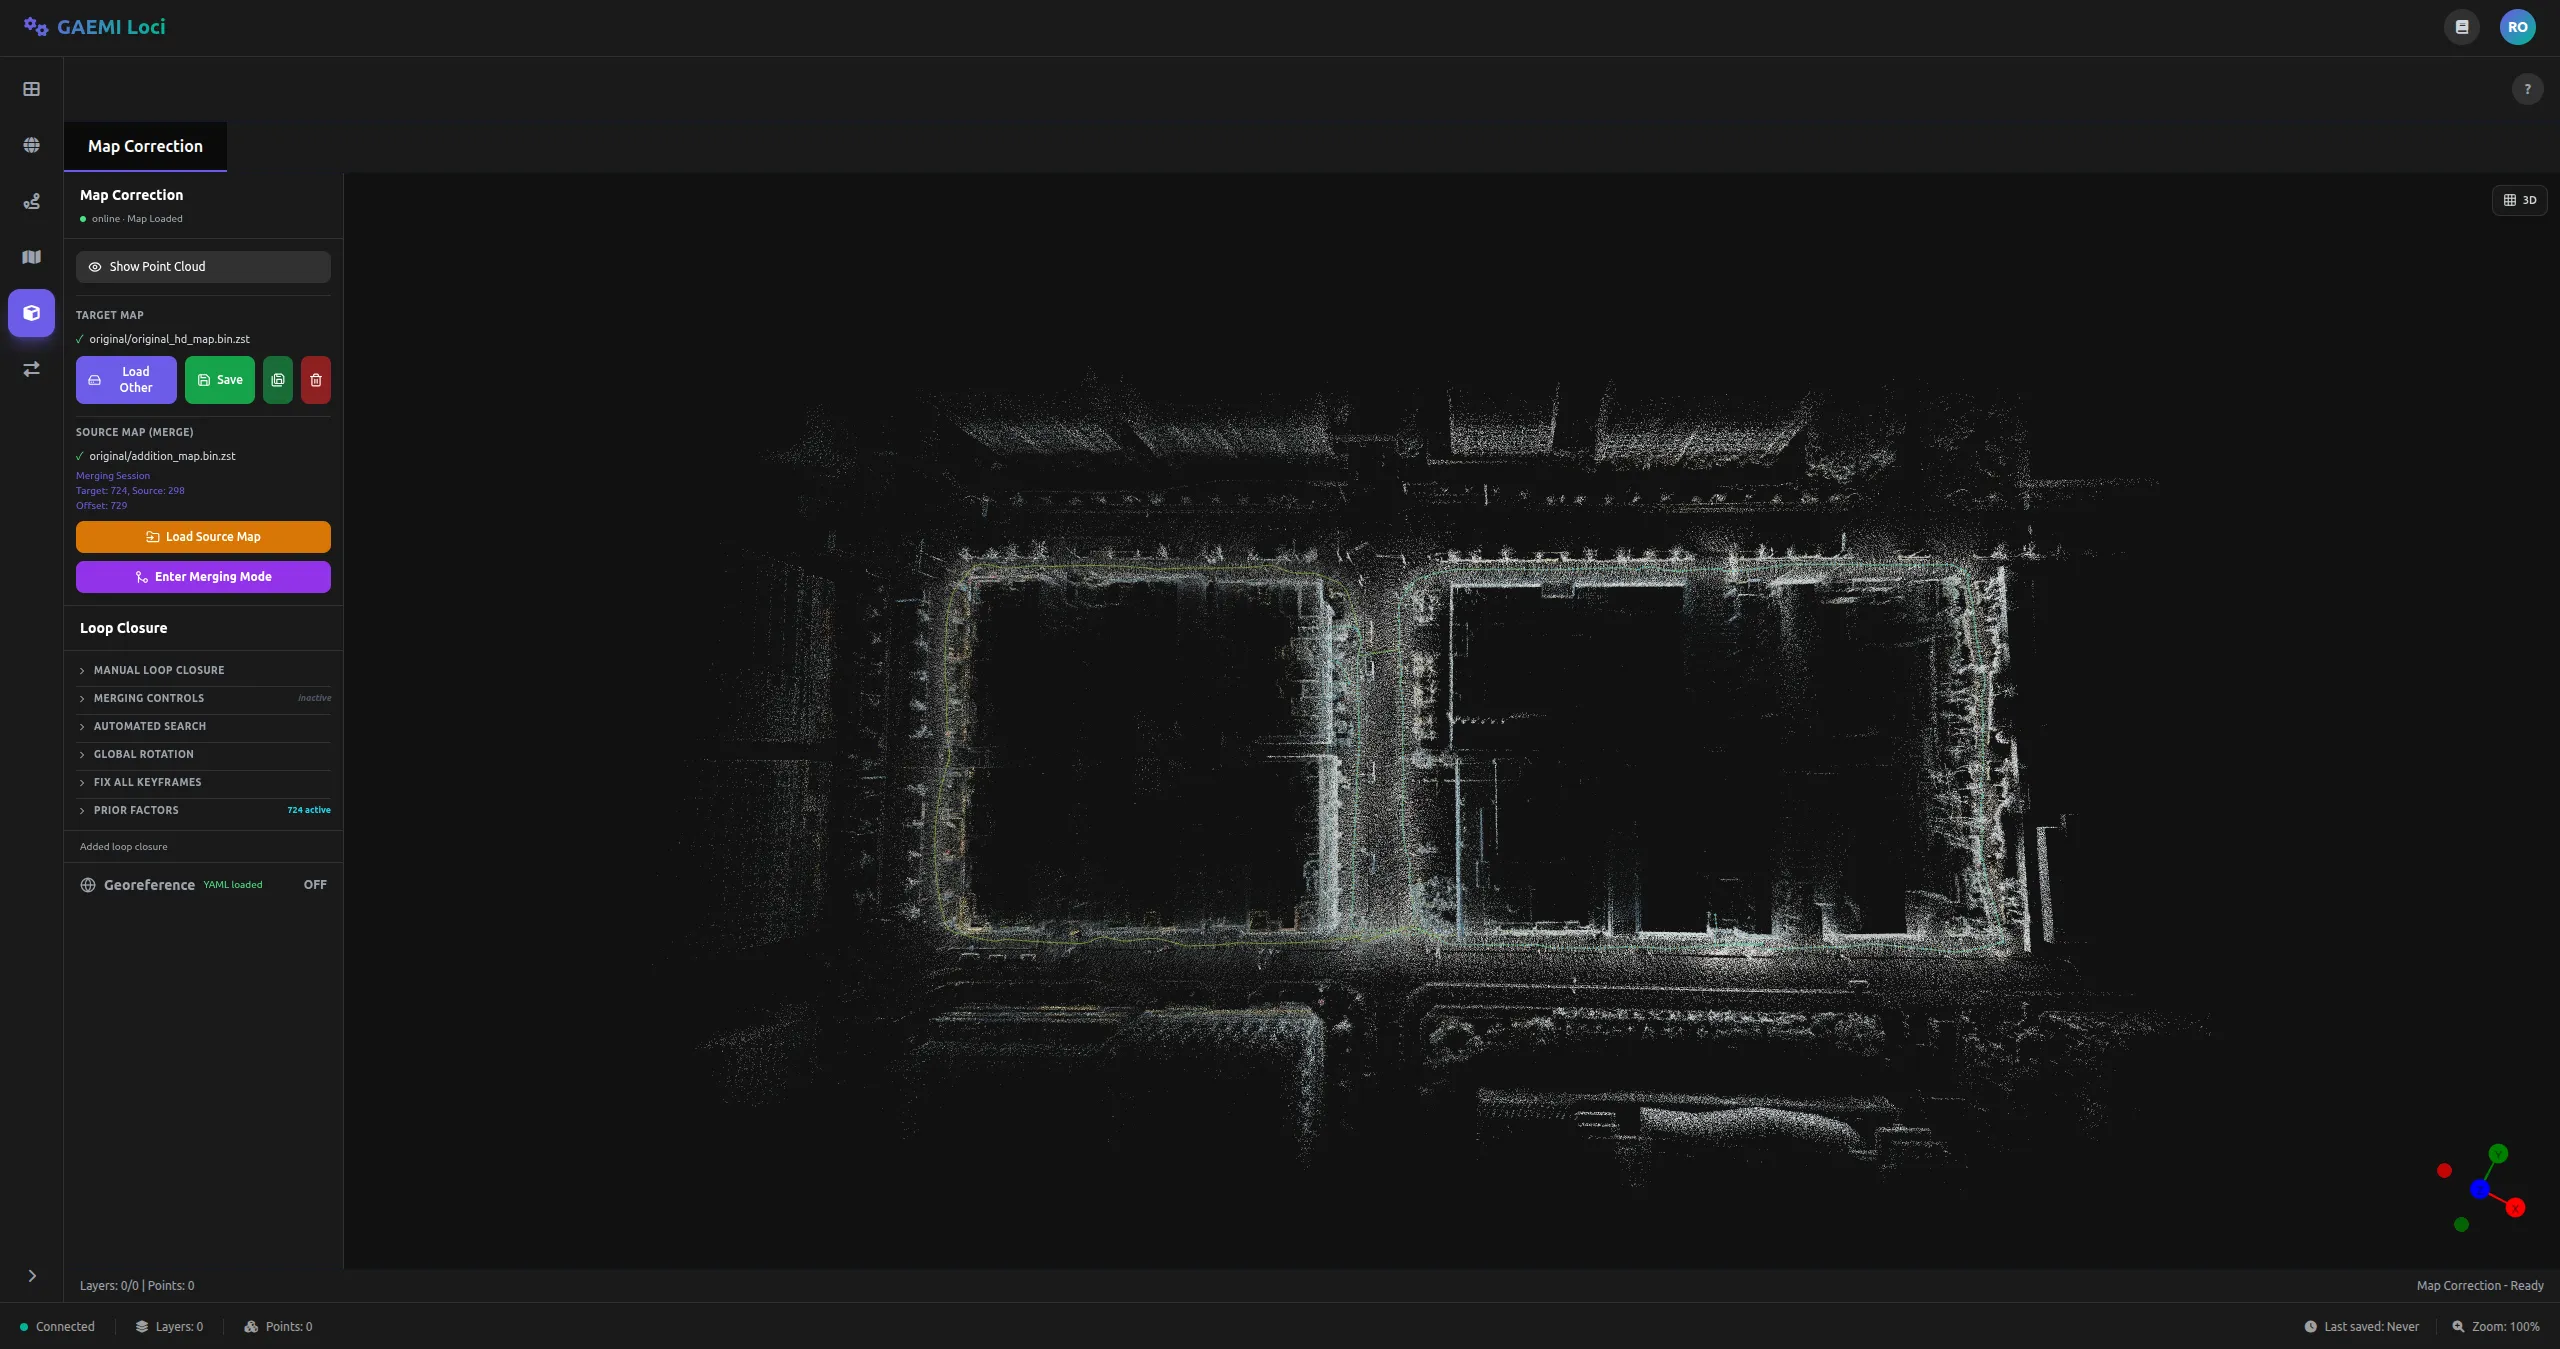
In the left panel, click the Load Map button to load the existing HD Map
{site_name}/{local_time}/hd_map/original/original_hd_map.bin.zst.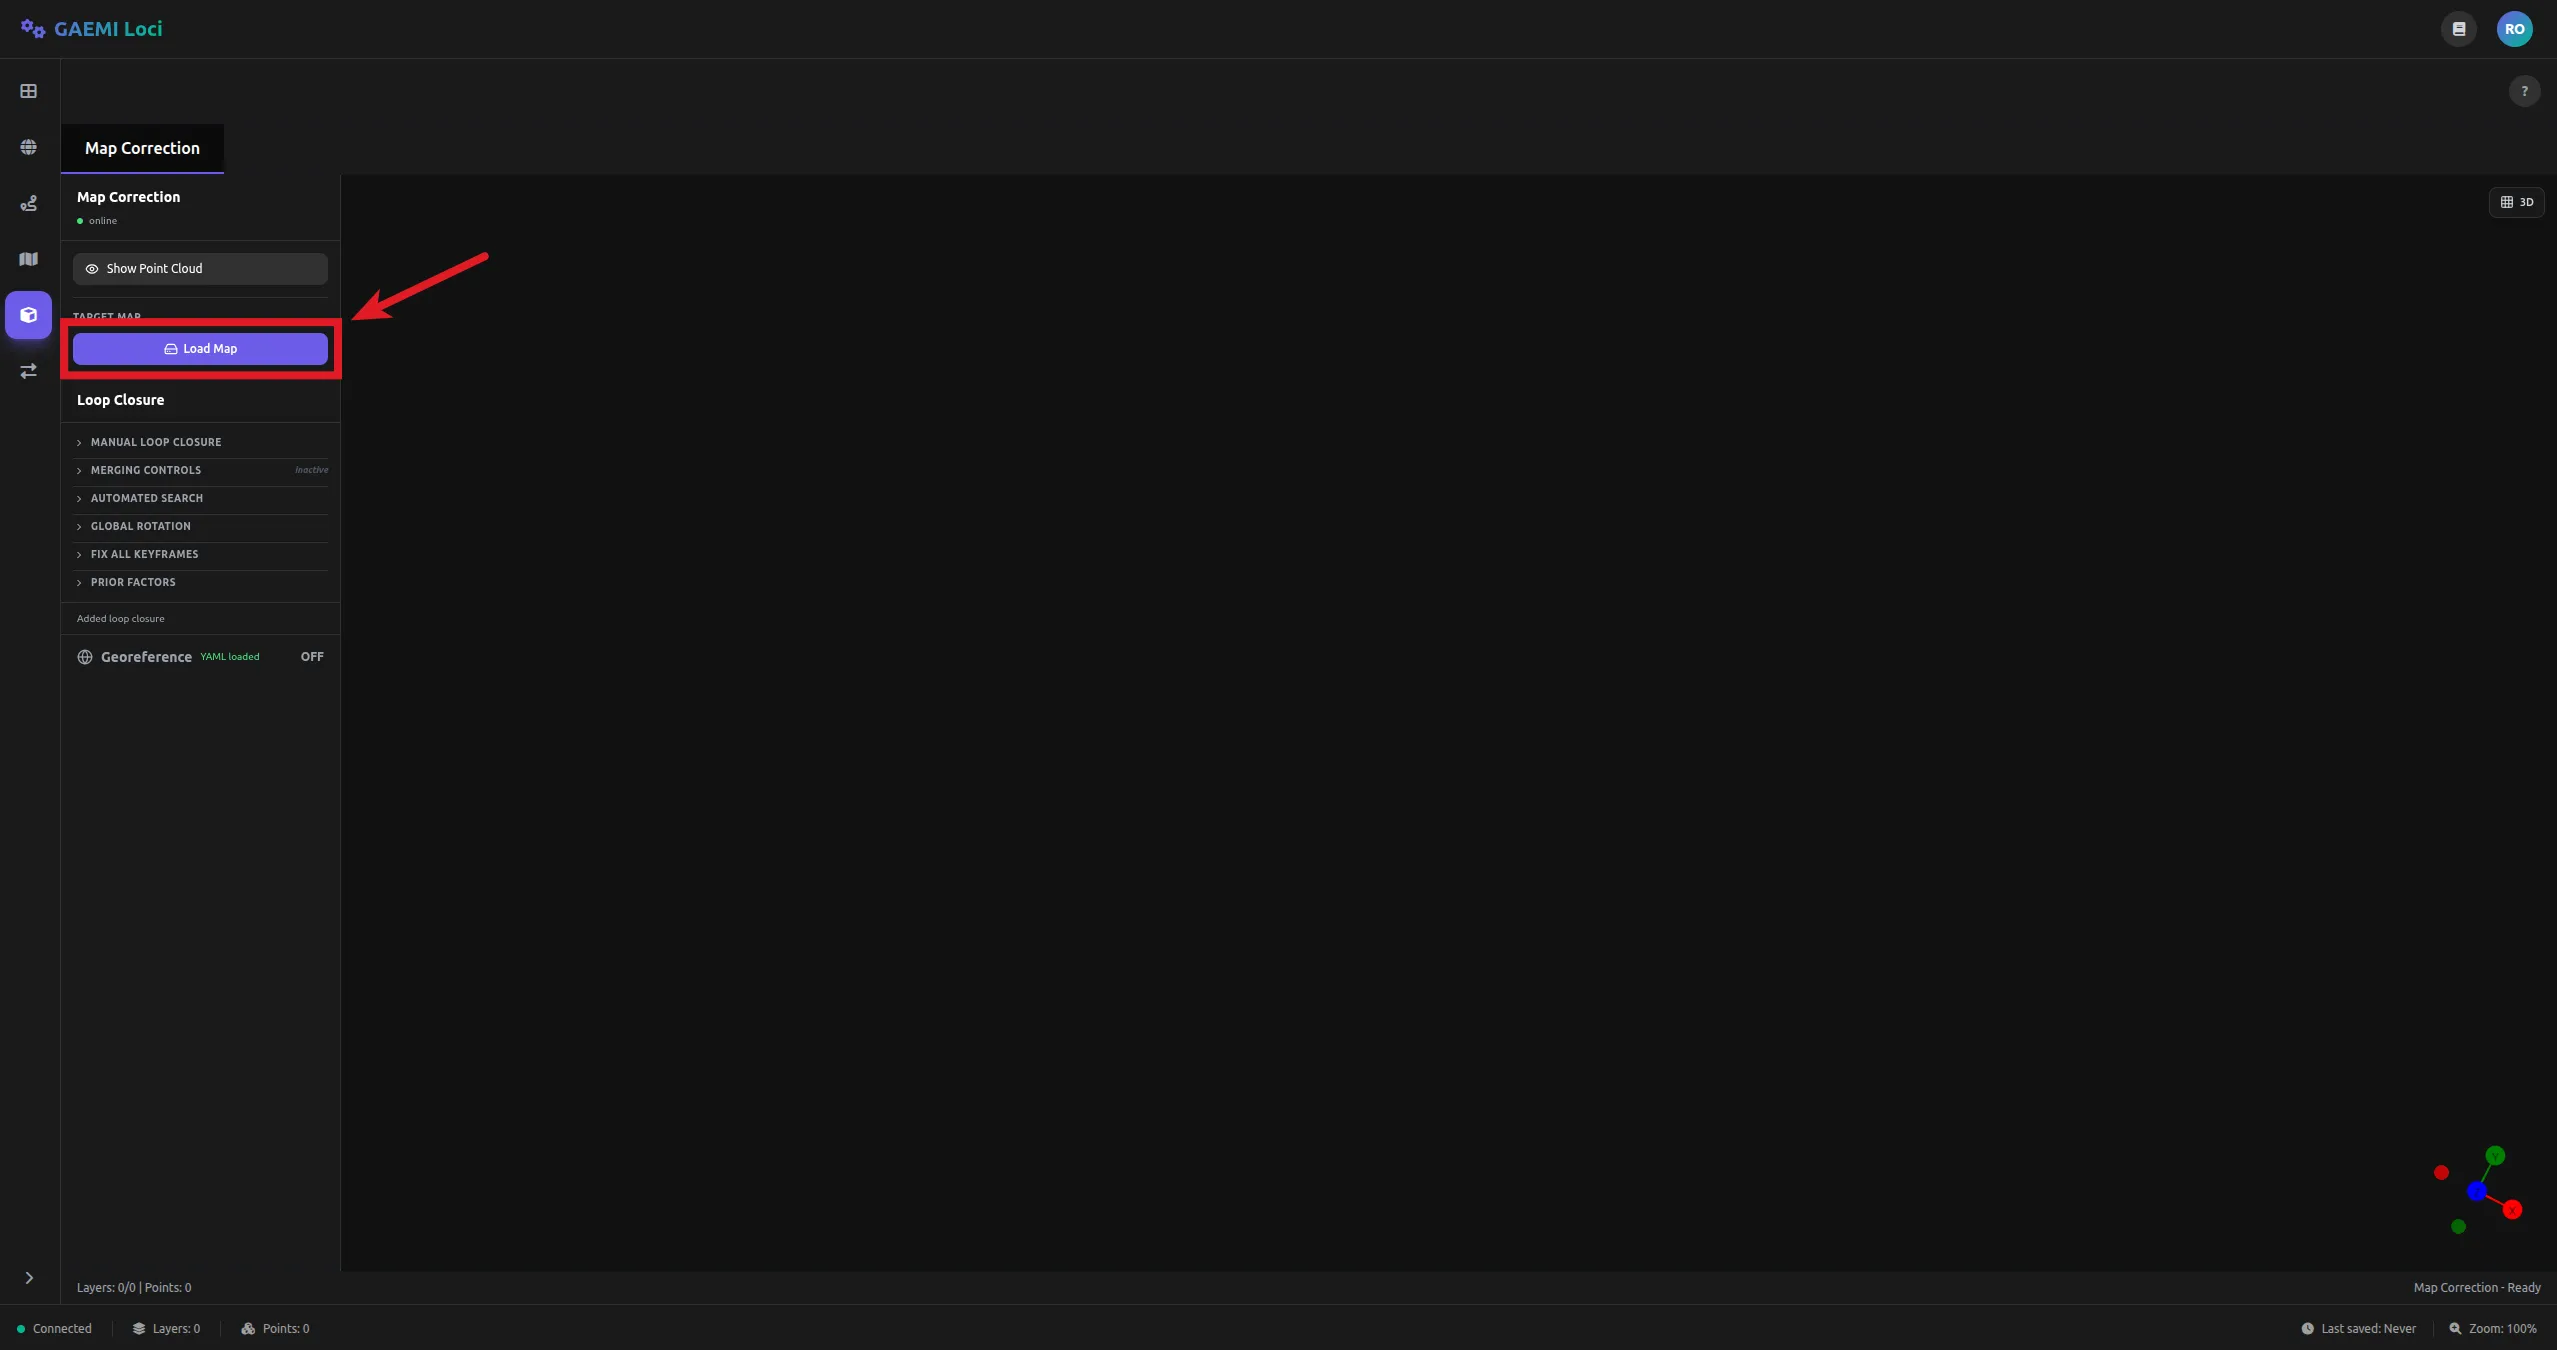
-
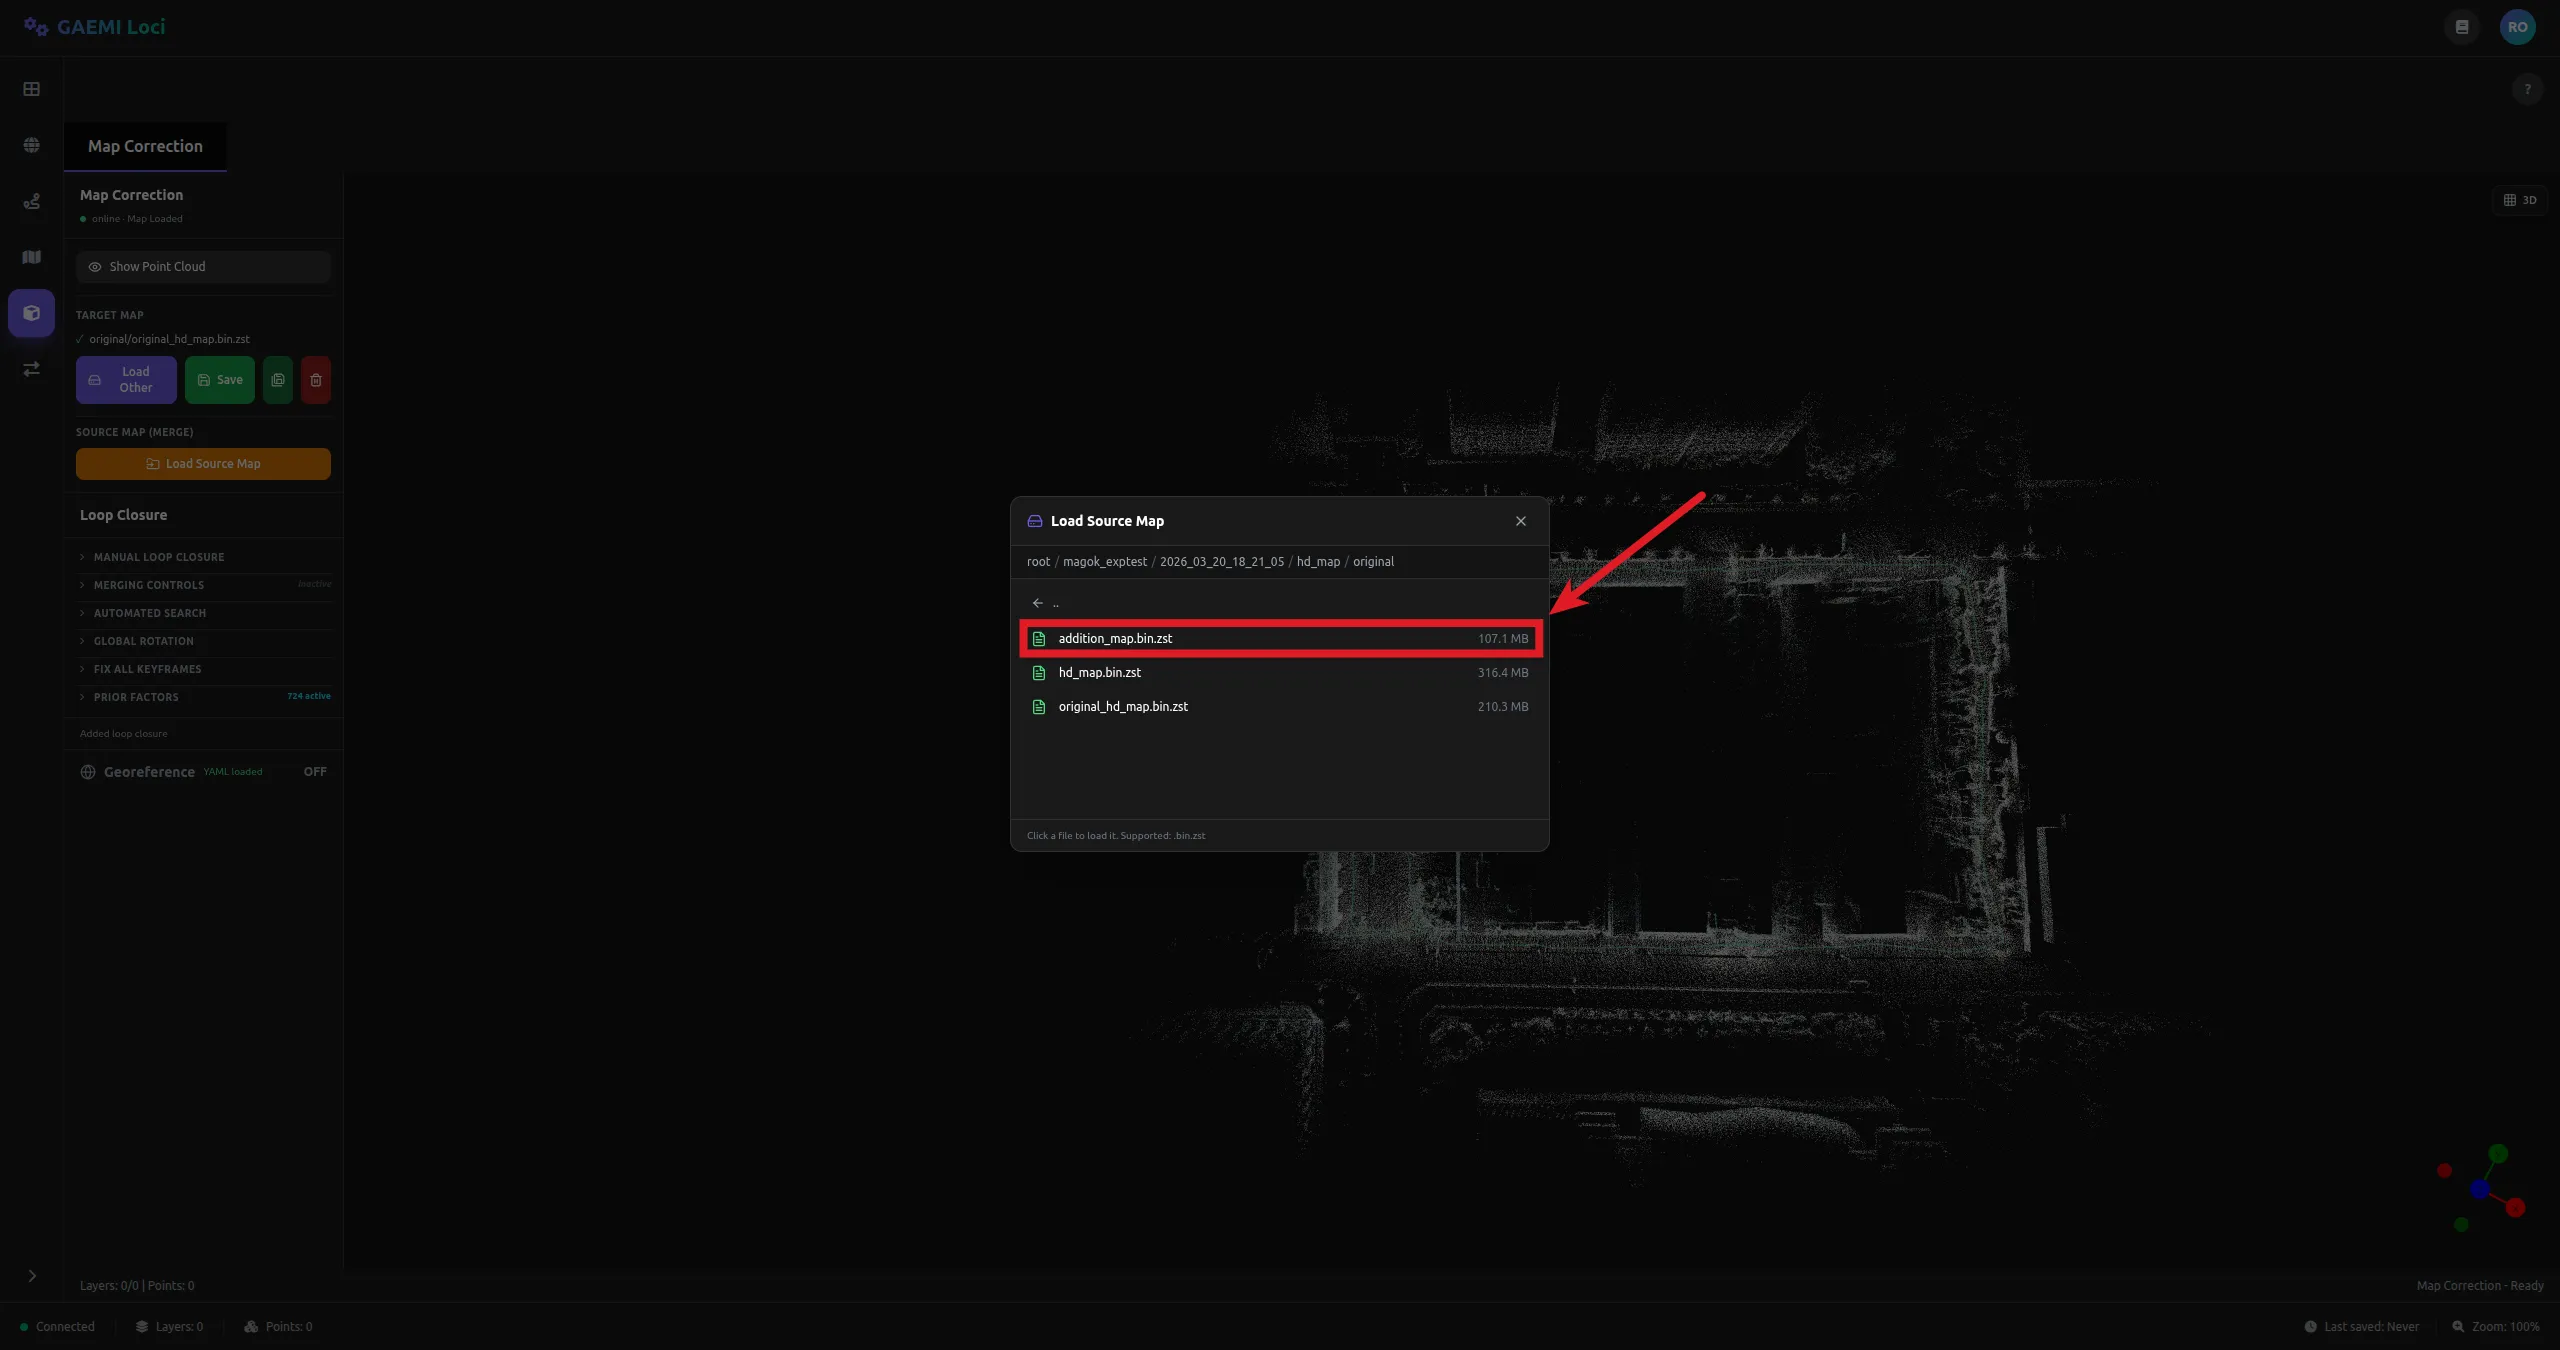
In the left panel, click the Load Source Map button to load the additional map to merge
{site_name}/{local_time}/hd_map/original/addition_map.bin.zst.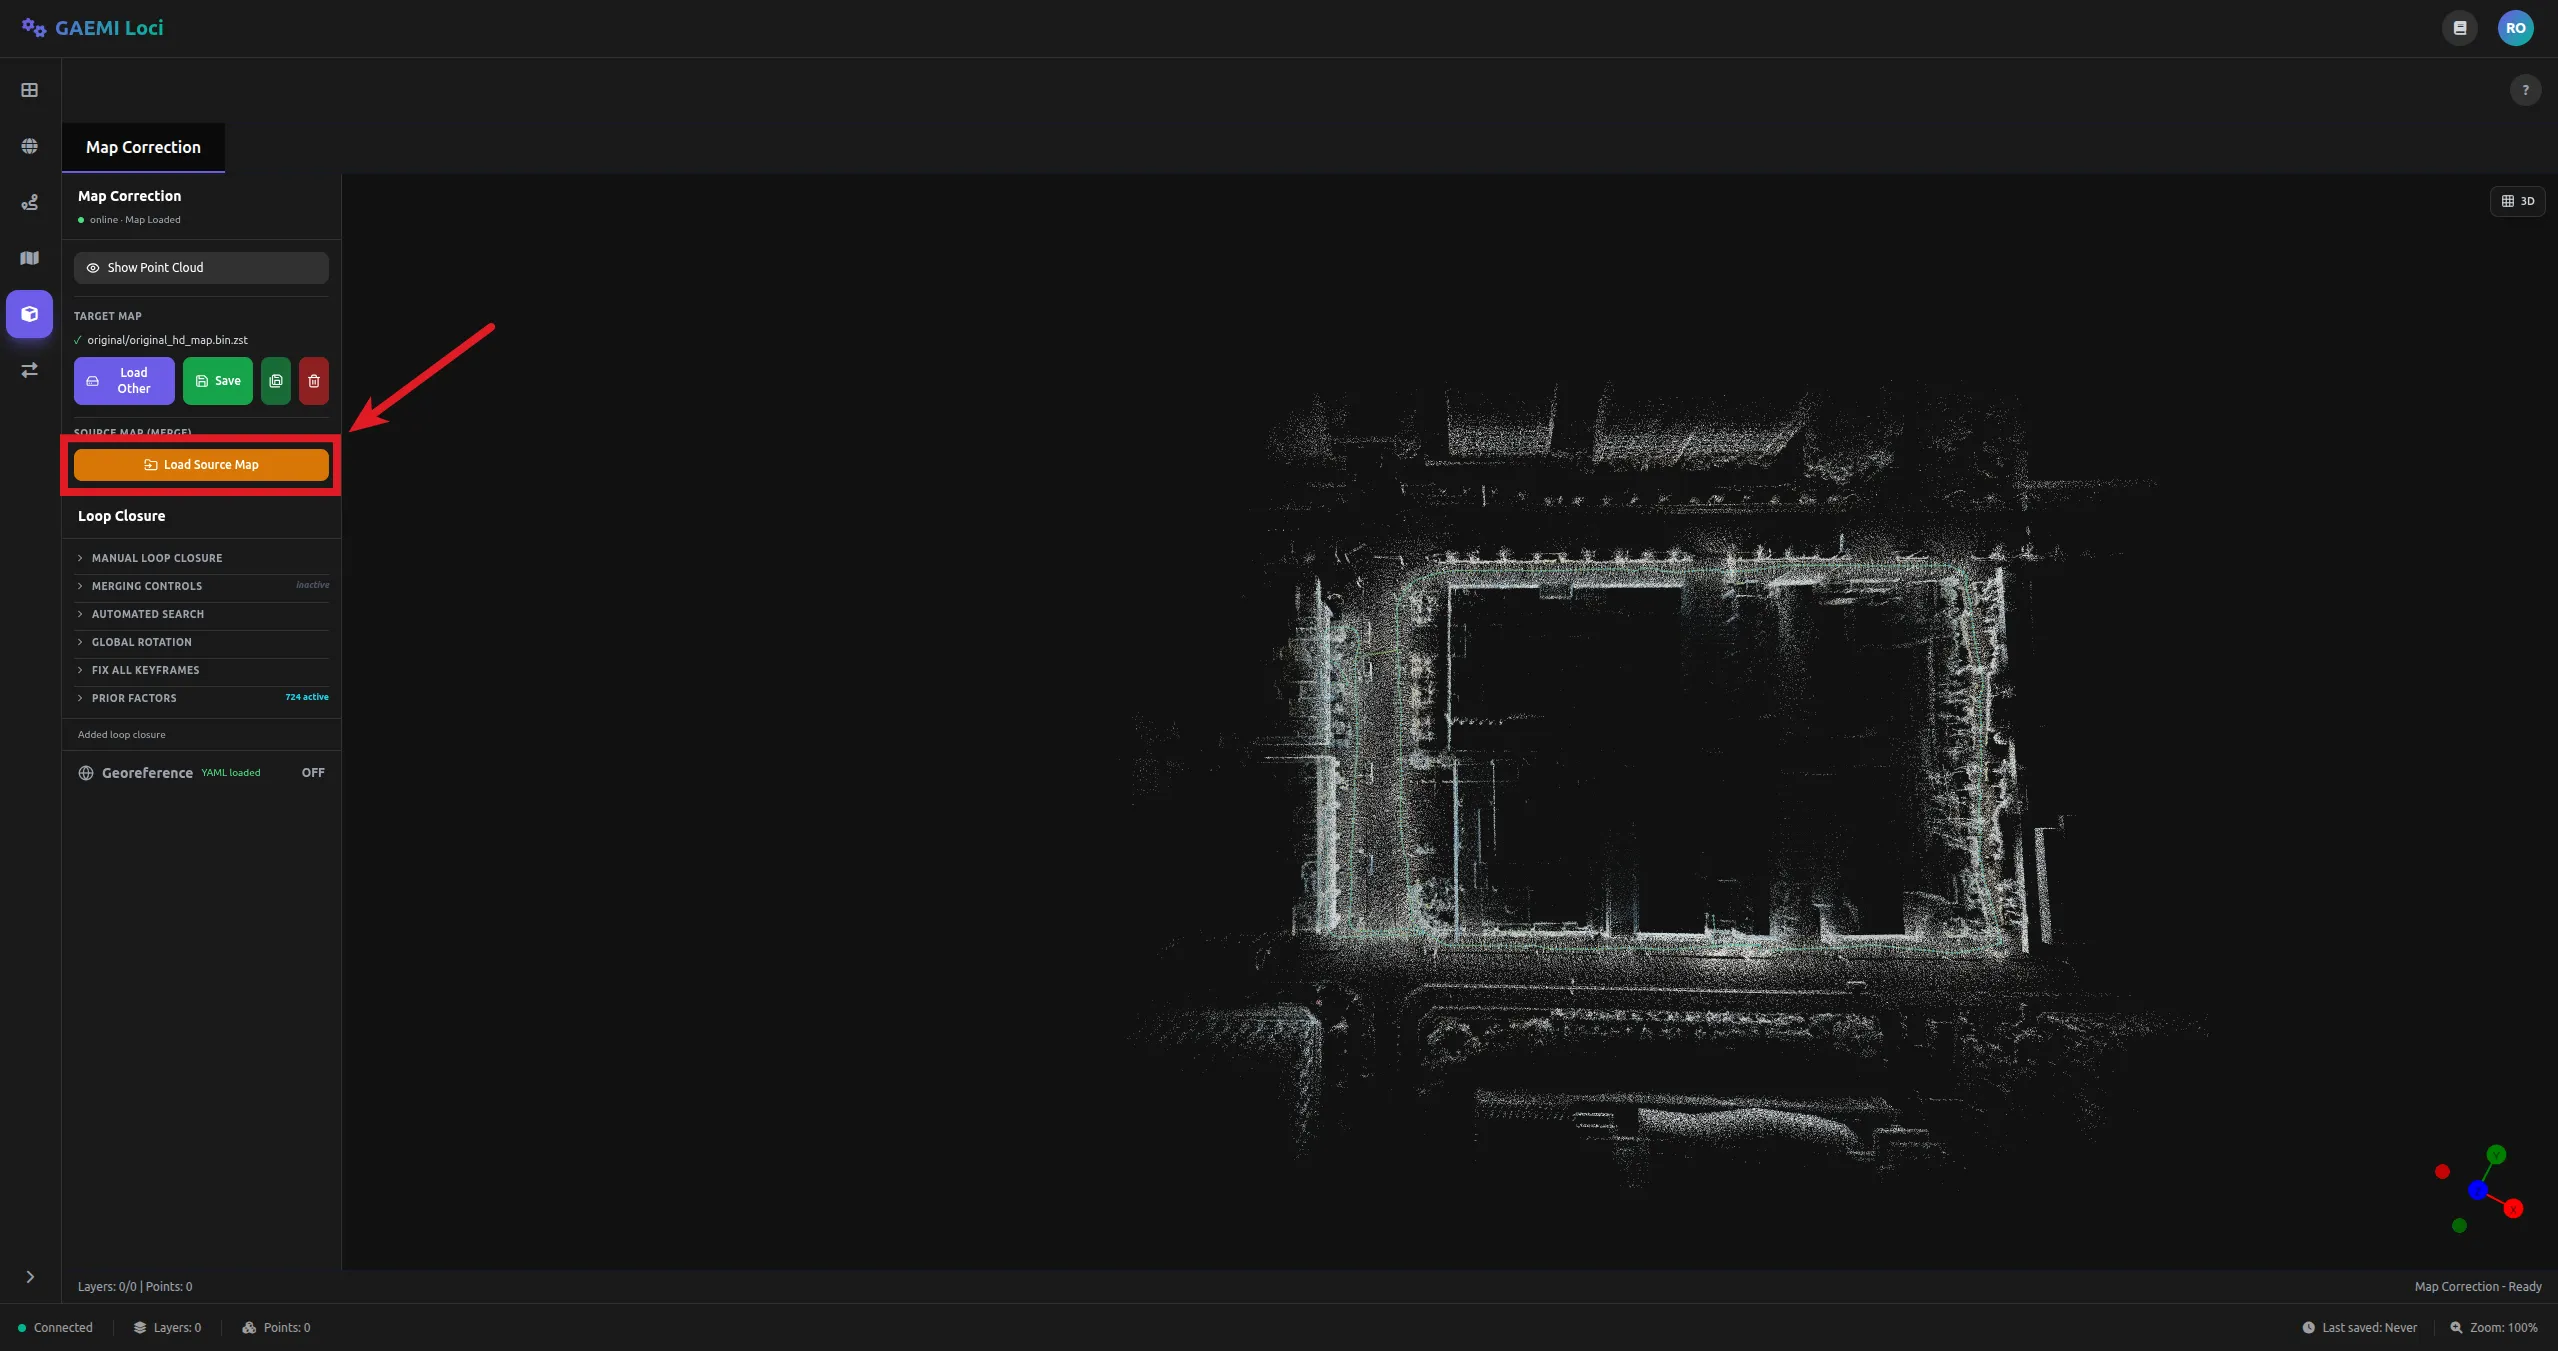
-
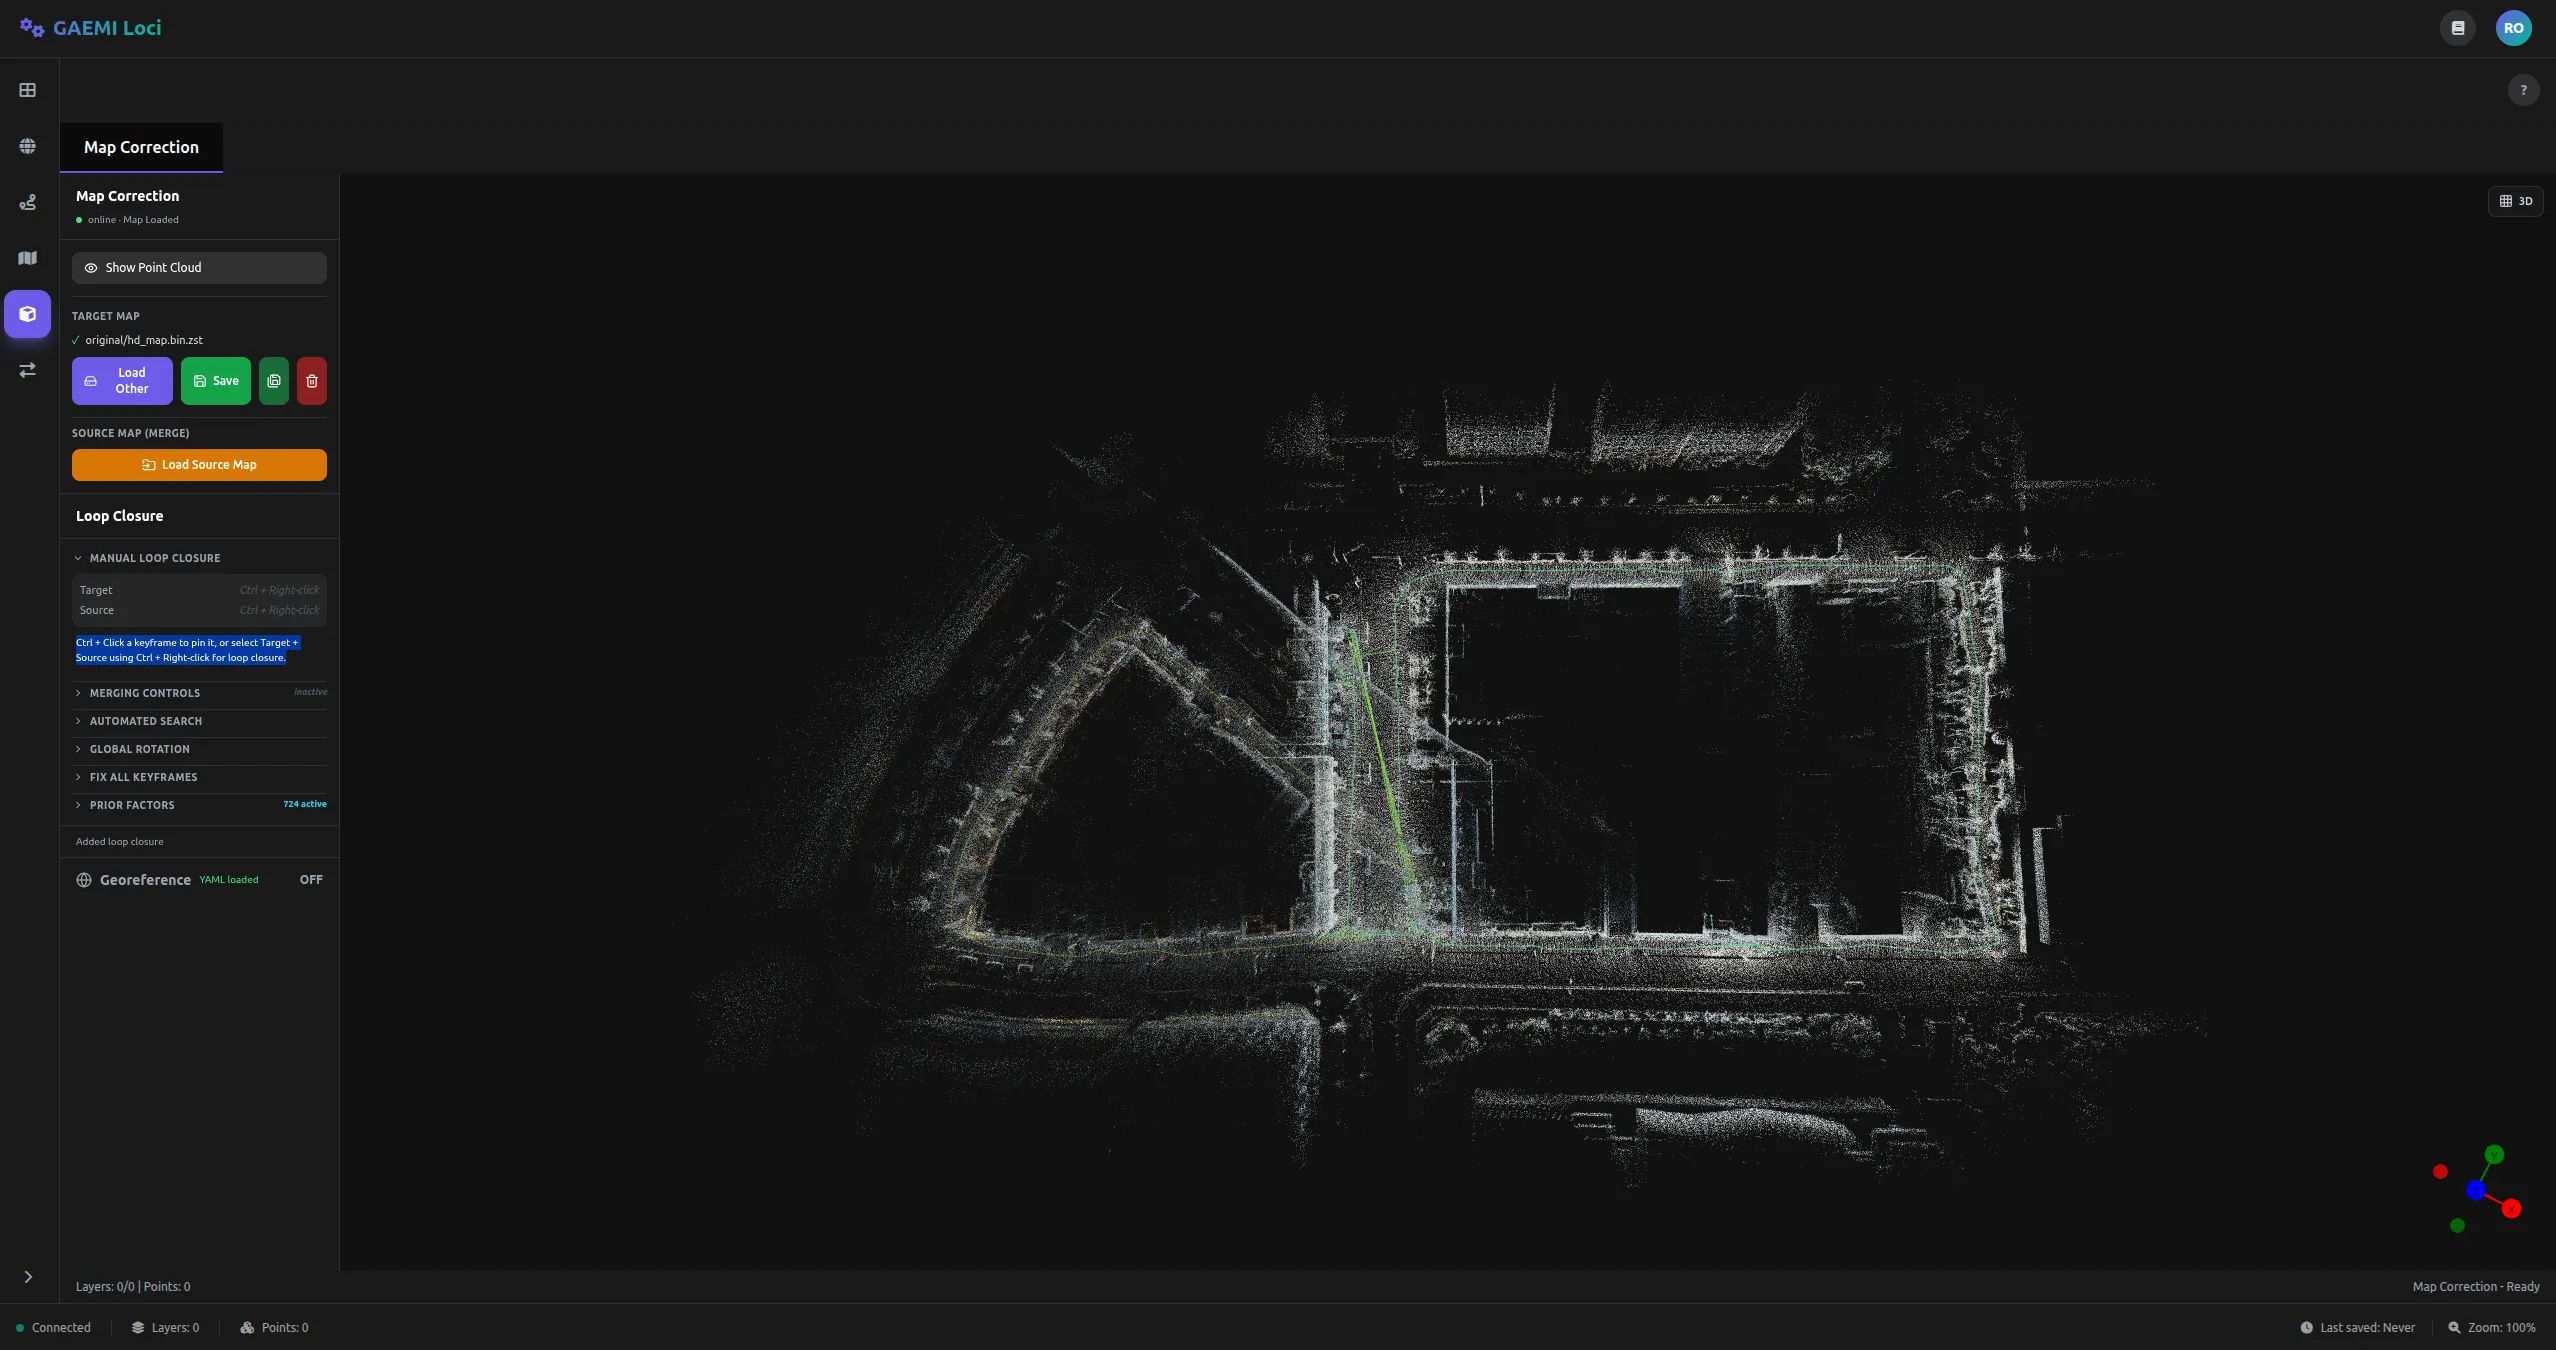
In the overlapping area between the target map and the source map,
Ctrl + right-clickthe reference keyframe and click Set as Target (Red). -
Ctrl + right-clickthe keyframe at the same location on the source map, then click Set as Source (Green). -
Toggle the gizmo mode with the
T/Rkeys, then holdCtrland drag the gizmo to manually adjust the source keyframe’s position and orientation.T: Translate /R: Rotate
-
Perform fine alignment with Run ICP.
- Noise Scale: noise value of the Between Factor (default: 0.01, range: 0 to 1)
- Max Distance: maximum correspondence distance (default: 5.0 m, range: 0 to 10)
-
Click Add Loop Factor (links a keyframe from the target map with one from the source map).
- Repeating this for multiple pairs improves alignment accuracy.
-
Optimize the map with the Run Optimization button.
-
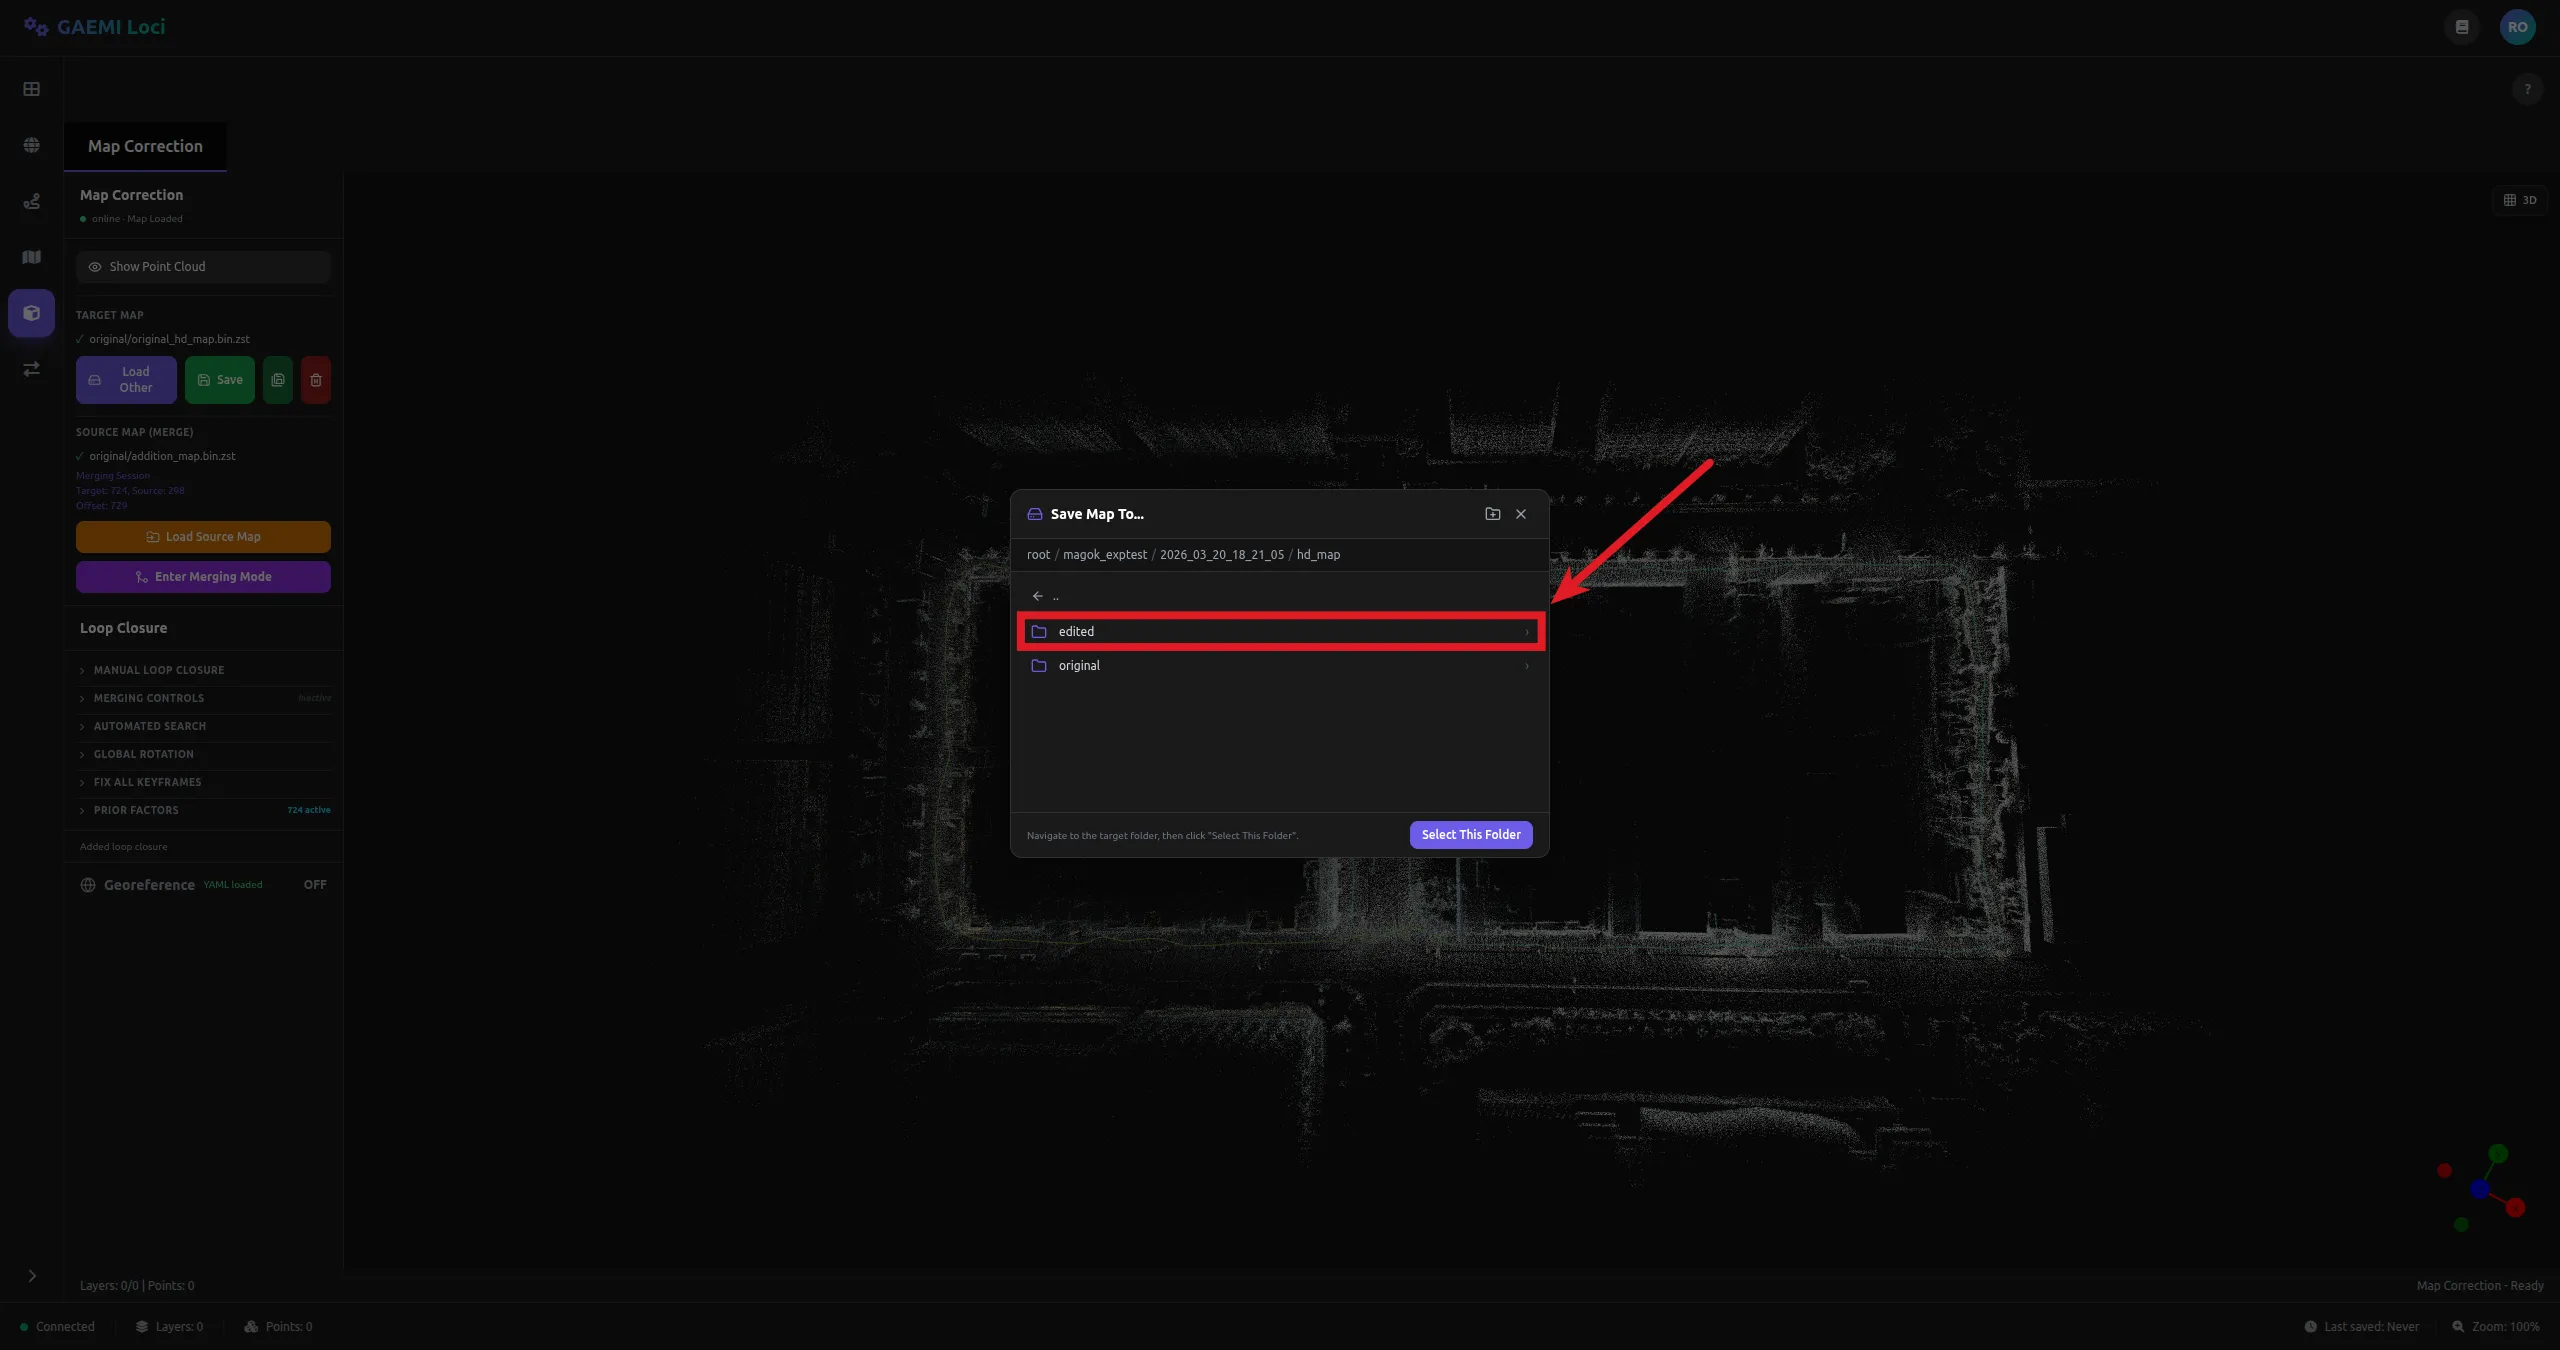
Review the result, then click Save As to create the
{site_name}/{local_time}/hd_map/edited/folder and save the map there.
Typical Workflow
[Map merging workflow]1. Identify an incorrectly registered map → [Clear] → reset the map2. [Load Map] → load the existing HD Map (original_hd_map.bin.zst)3. [Load Source Map] → load the additional map (addition_map.bin.zst) to merge4. Ctrl + right-click in the overlapping area → Set as Target (Red)5. Ctrl + right-click on the source map → Set as Source (Green)6. Toggle gizmo mode with T / R, then Ctrl + drag to adjust position/orientation7. [Run ICP] → fine alignment8. [Add Loop Factor] → link keyframes (repeat for multiple pairs)9. [Run Optimization] → optimize the map10. Review the result, then [Save As] → create and save into {site_name}/{local_time}/hd_map/edited/Saving the Map
Corrected maps are saved in Boost serialization + Zstandard compression format (.bin.zst).
- In the left panel, click the Save As button.

- From the
{site_name}/{local_time}/hd_map/path, click the create-folder button.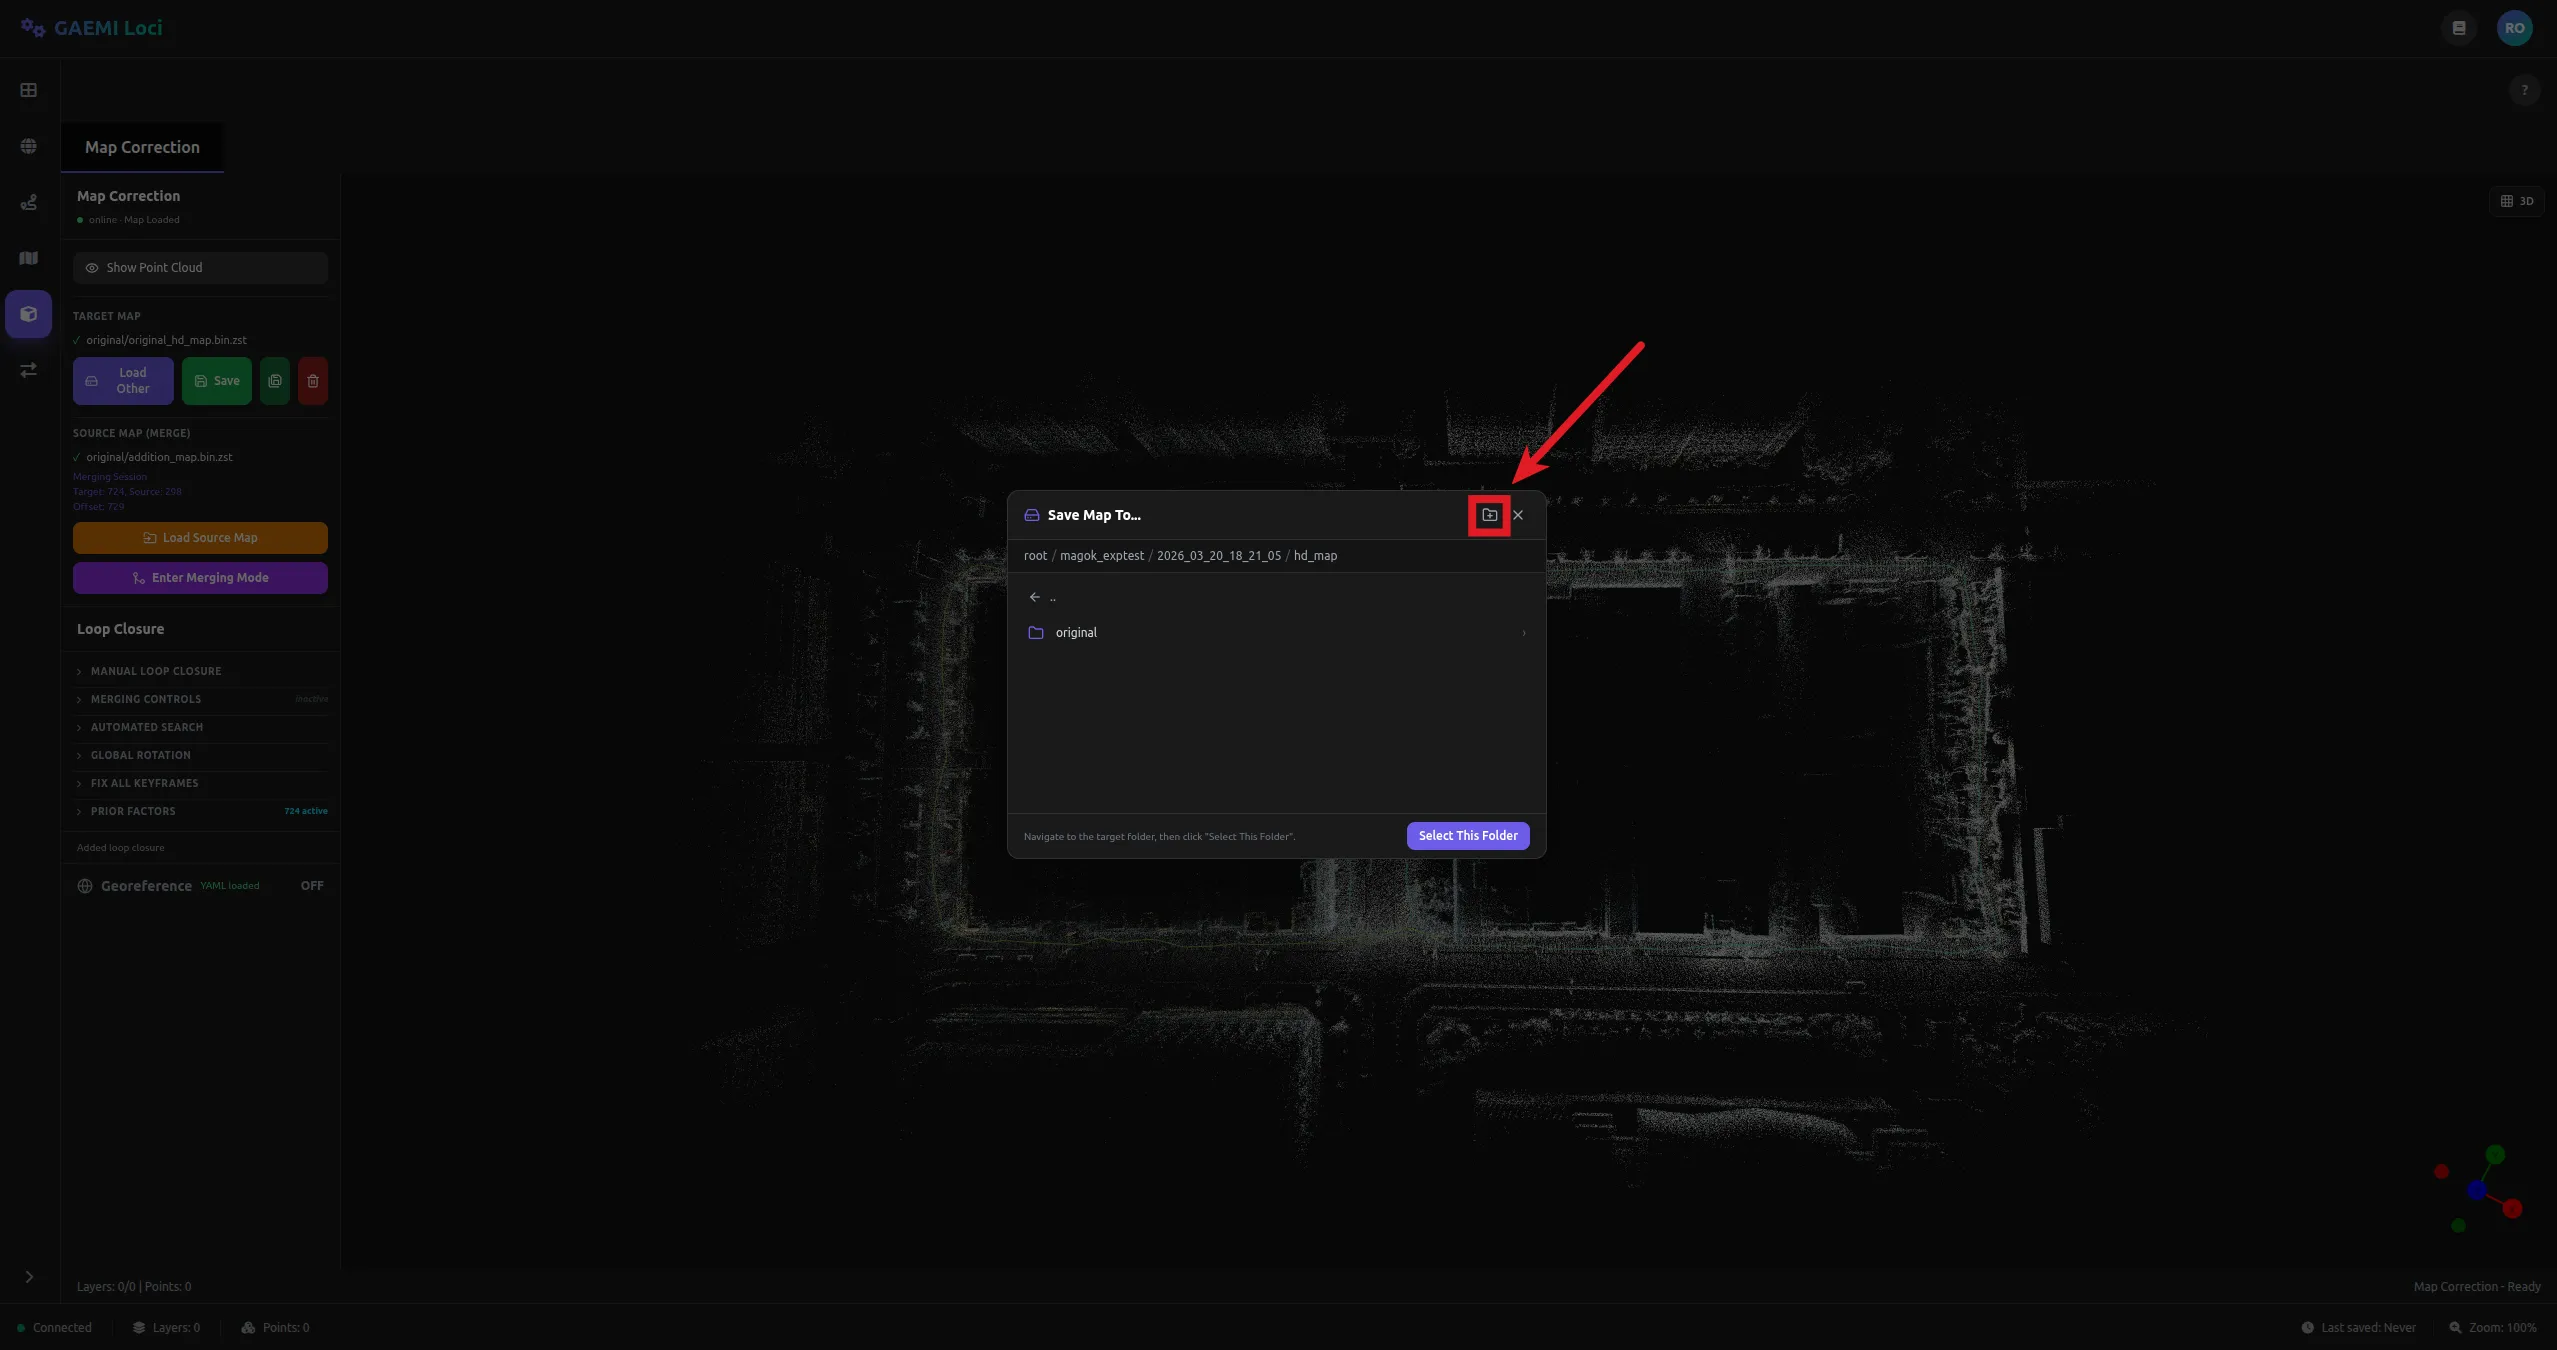
- Enter the folder name
editedand click the Create button.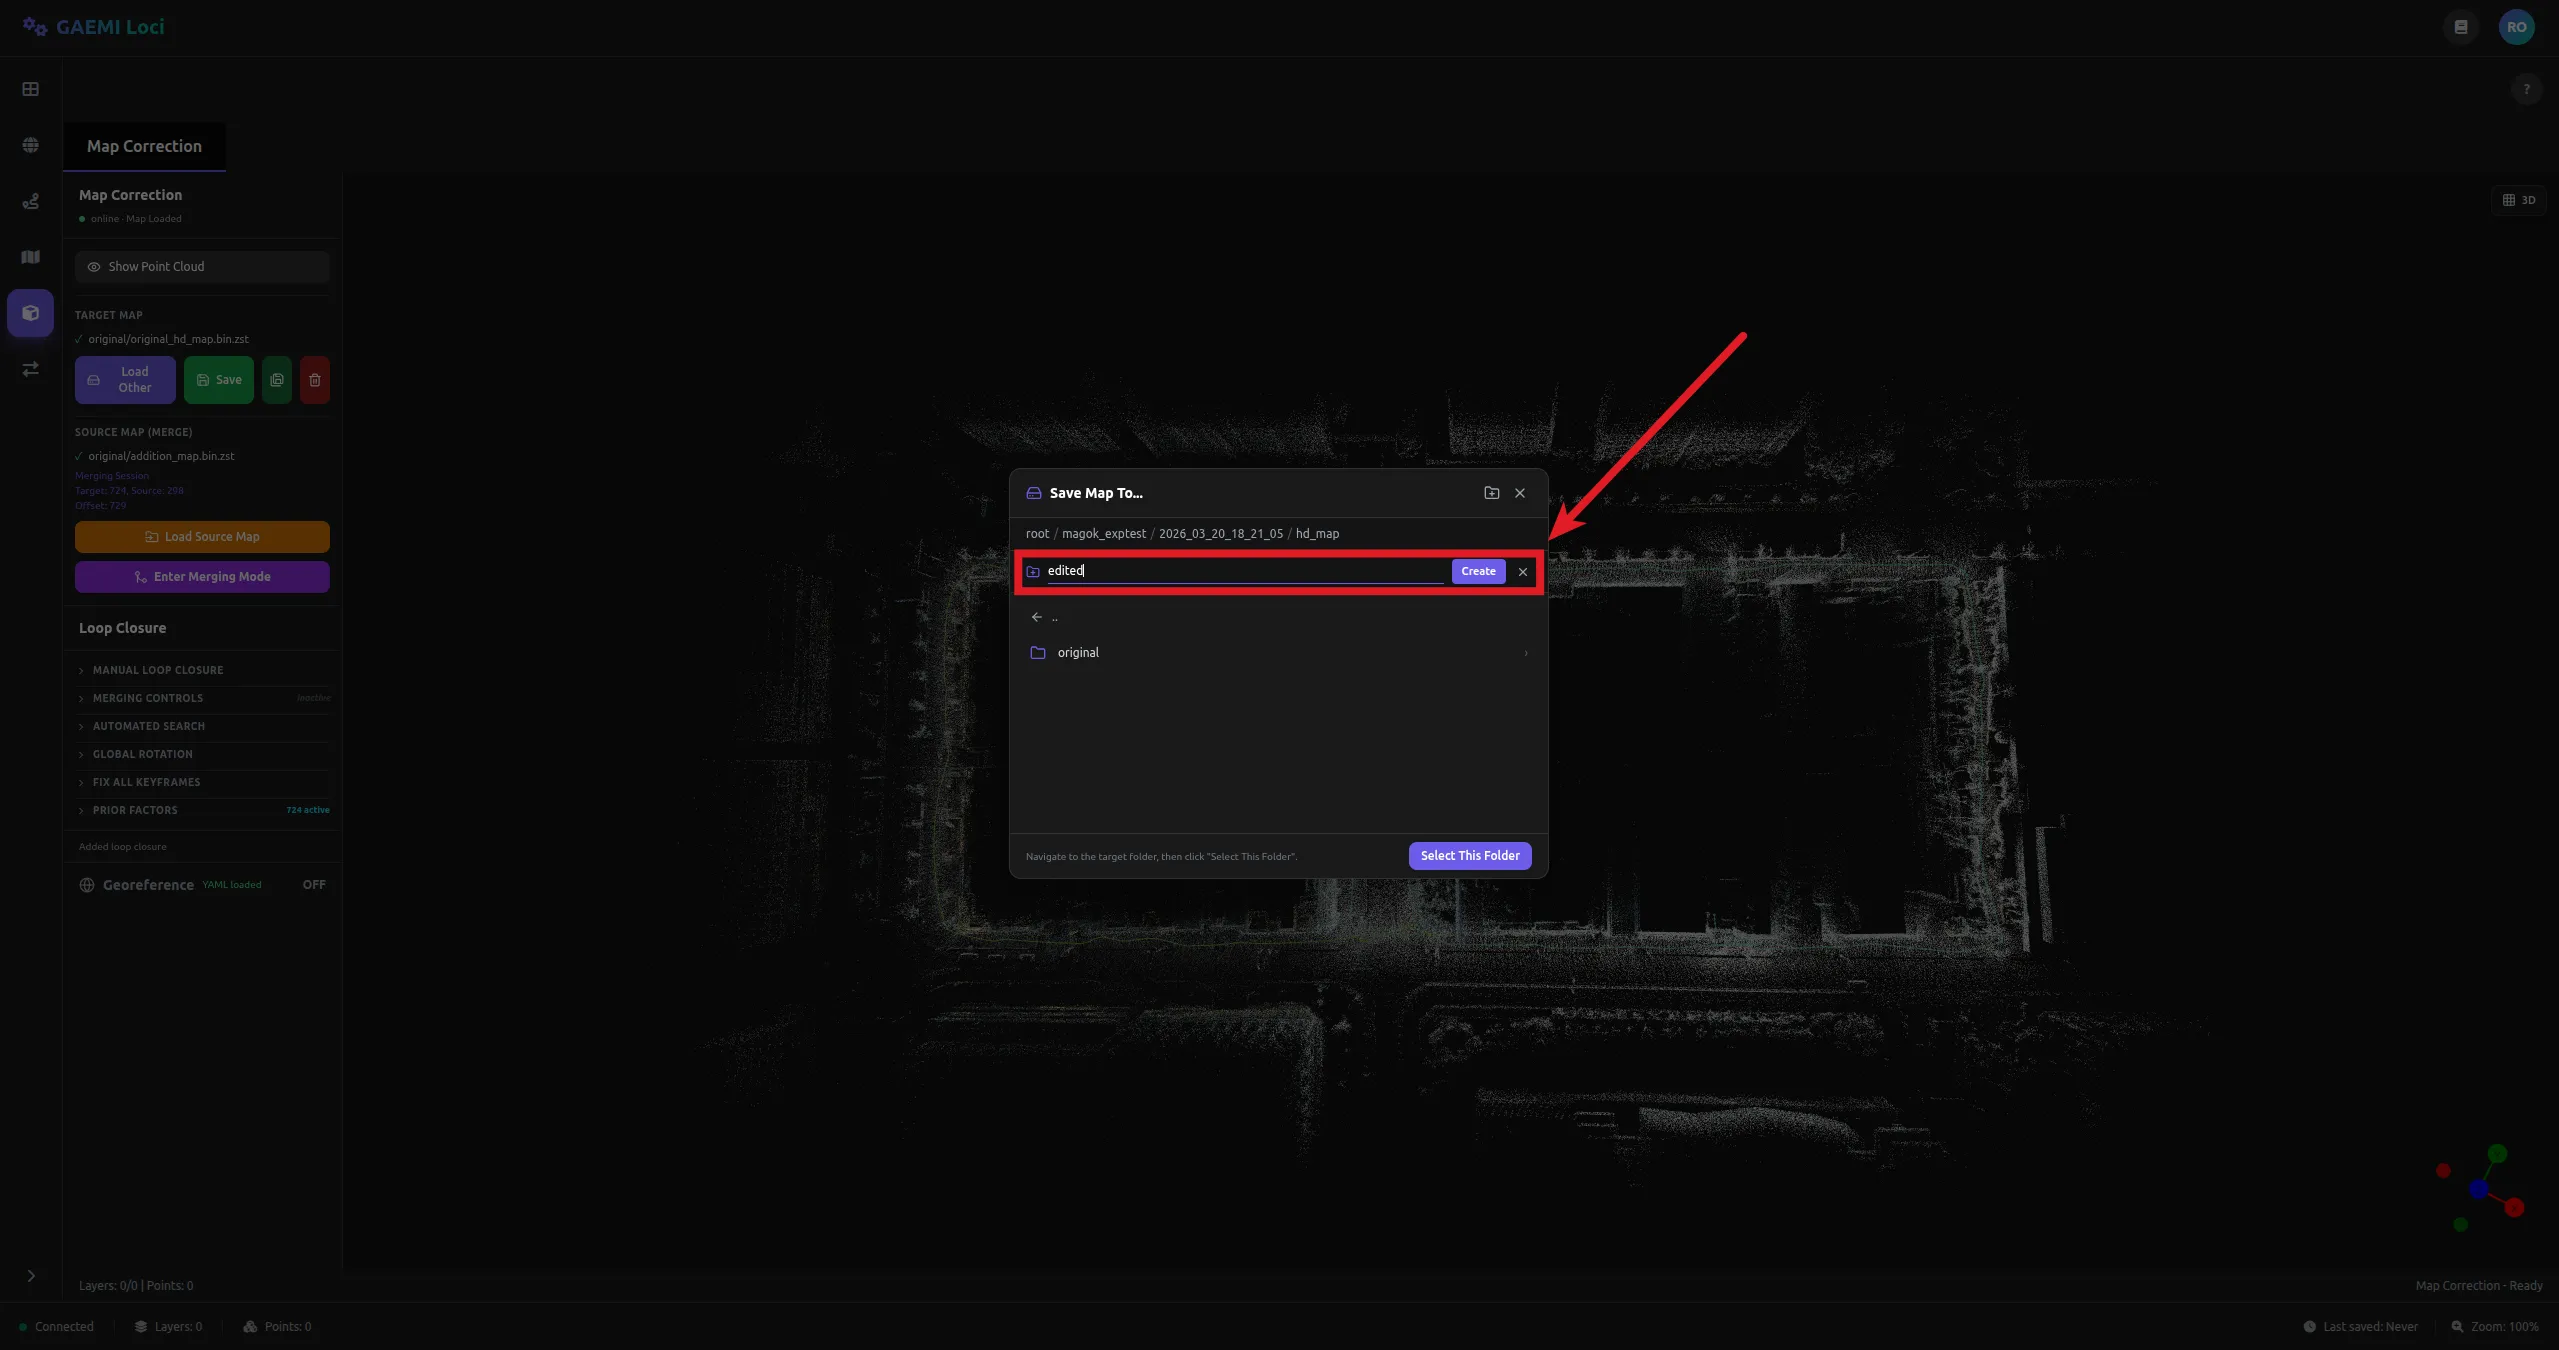
- Select the newly created
editedfolder and click Select This Folder to save.