Service Area Registration
Registration Procedure
1. Full View
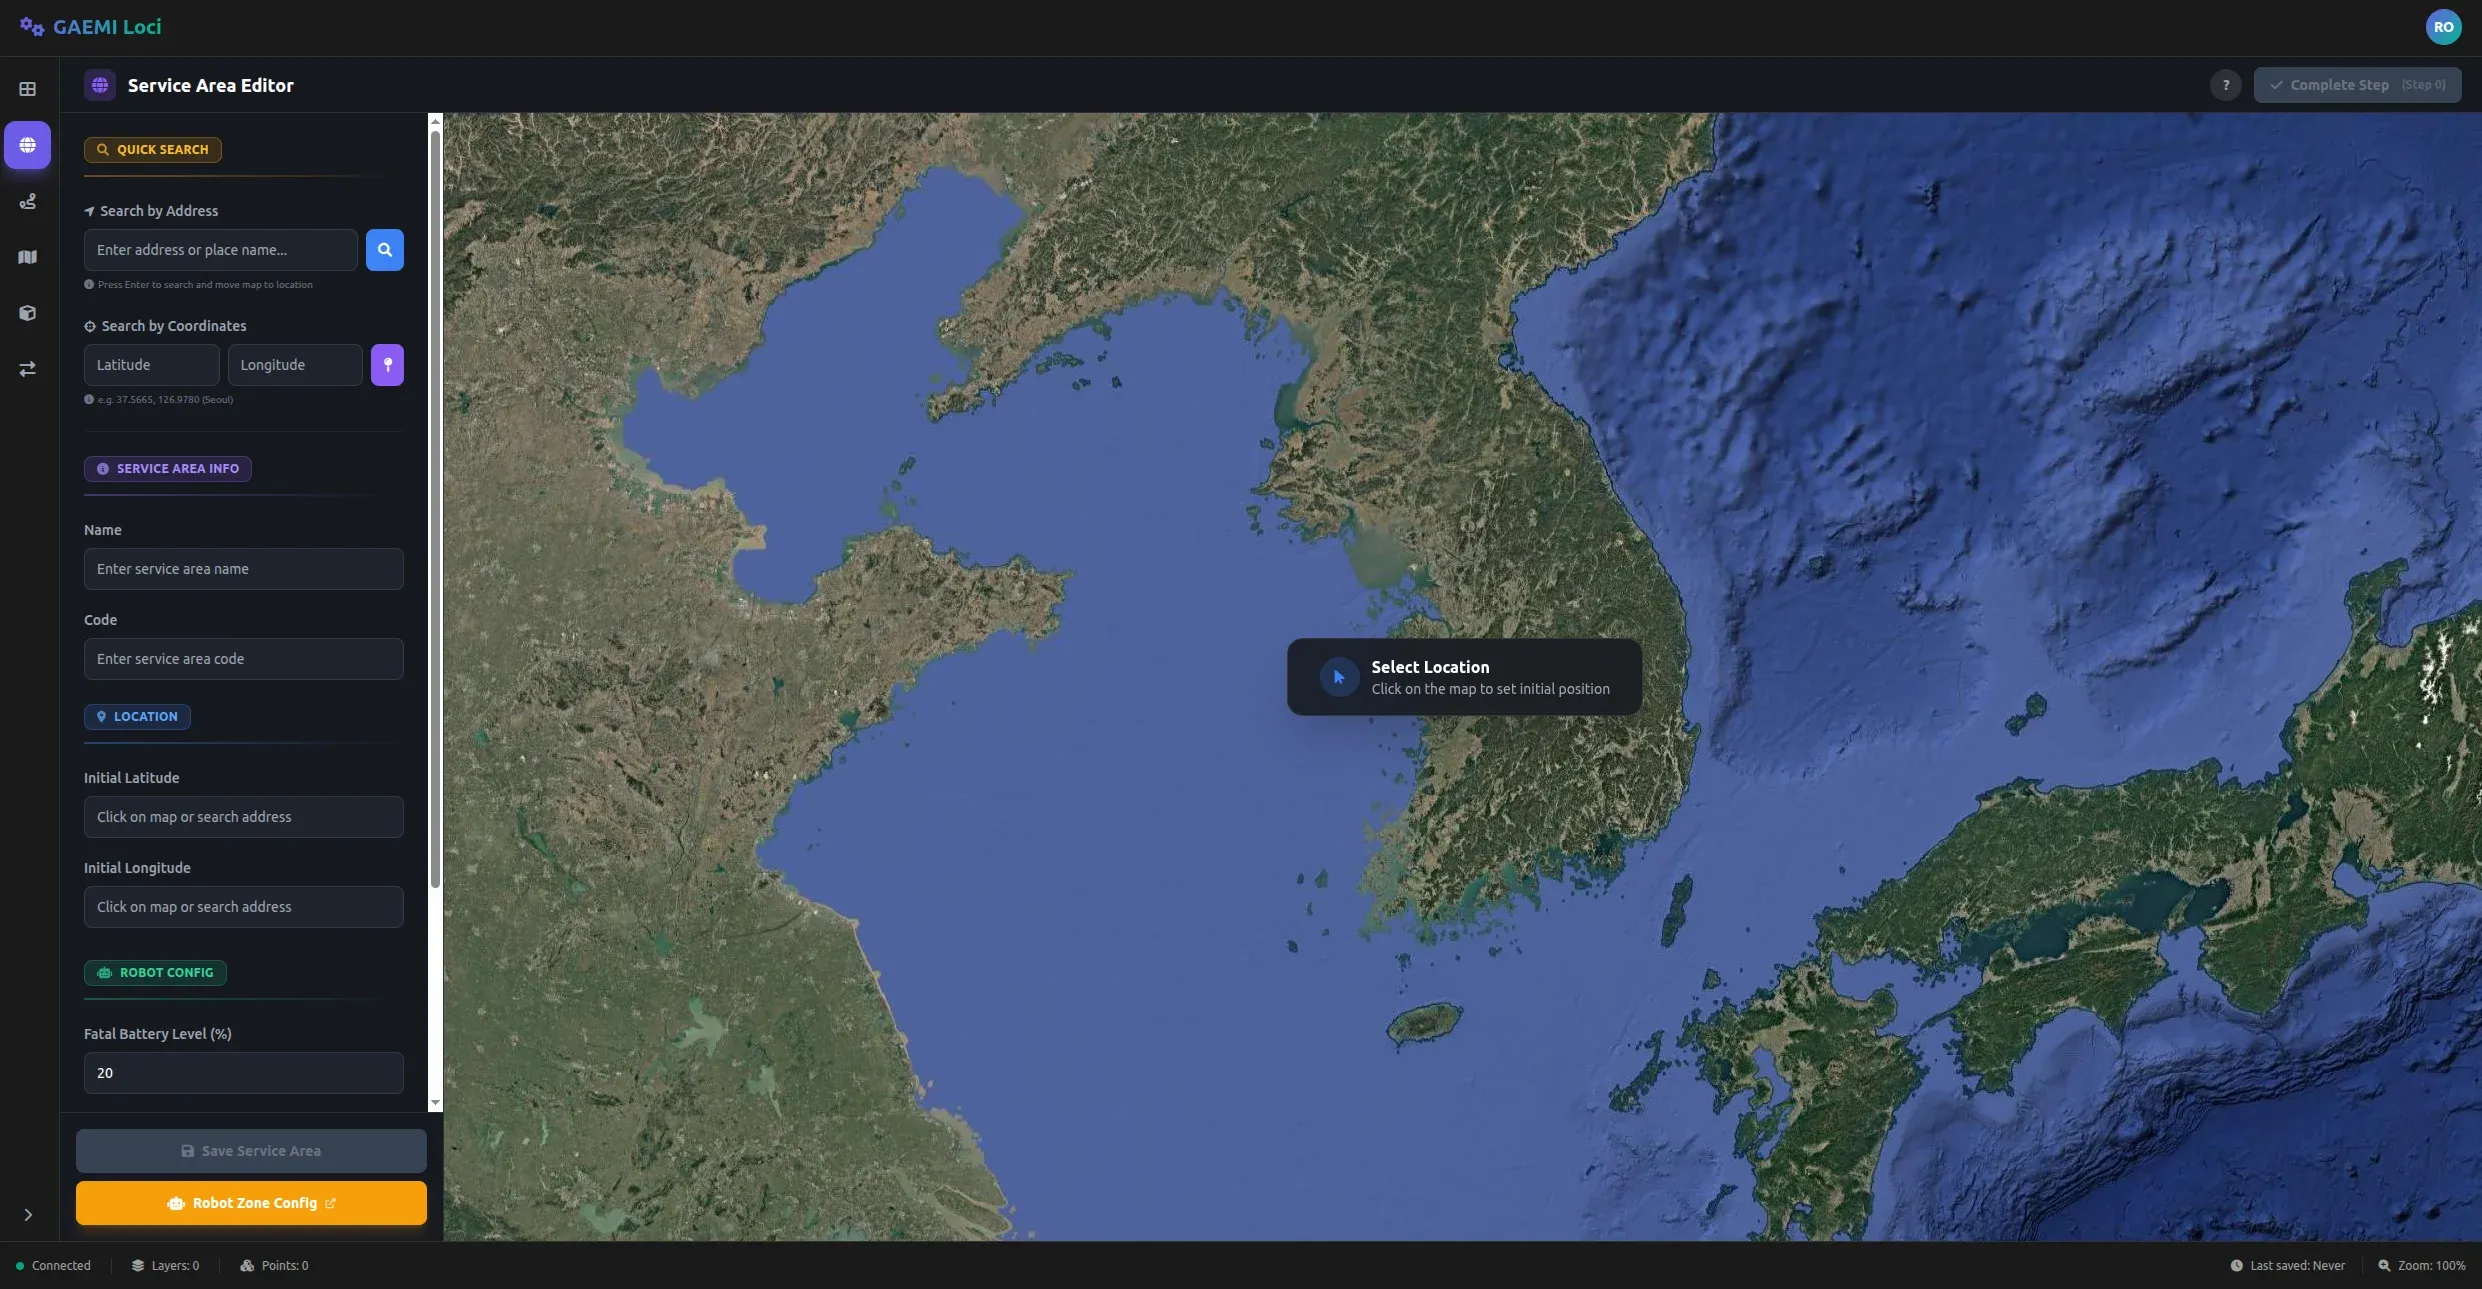
The screen above appears when you enter the Service Area Editor.
- Left panel — Contains the search, location, and metadata input forms.
- Right area — Displays the VWorld satellite map with a “Select Location” message in the center.
2. Address Search
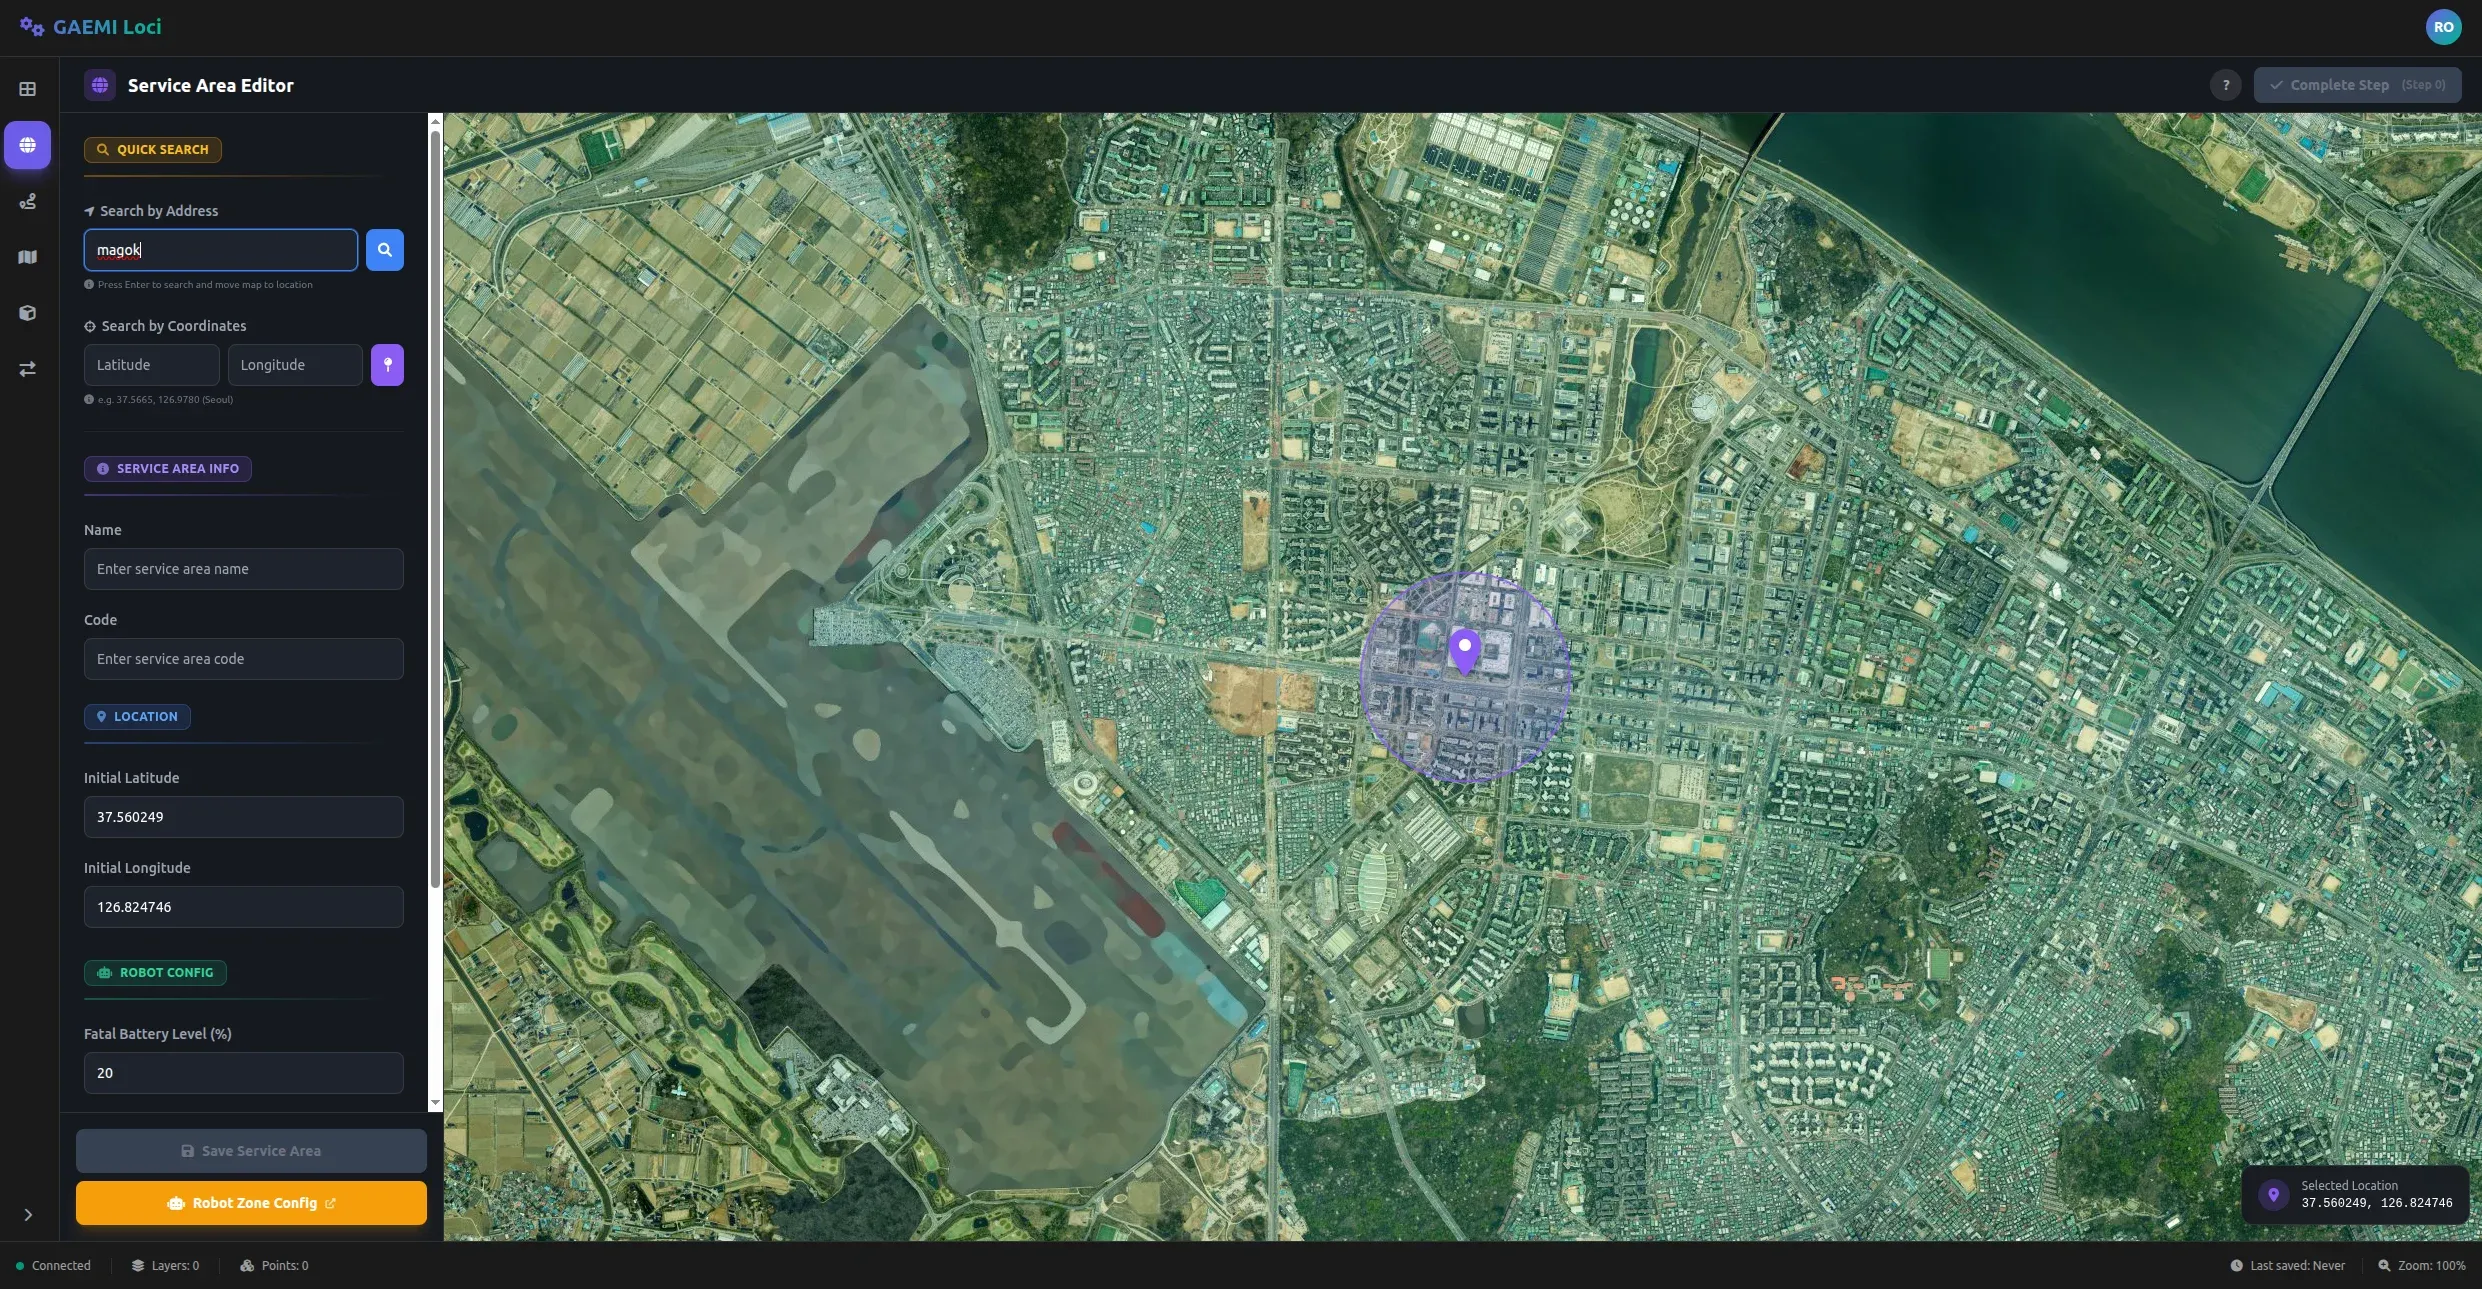
Search for the target area in the Search by Address input at the top of the left panel. When you select a search result, the map automatically pans to that location and a radius circle is drawn around the selected point.
3. Selecting the Exact Location
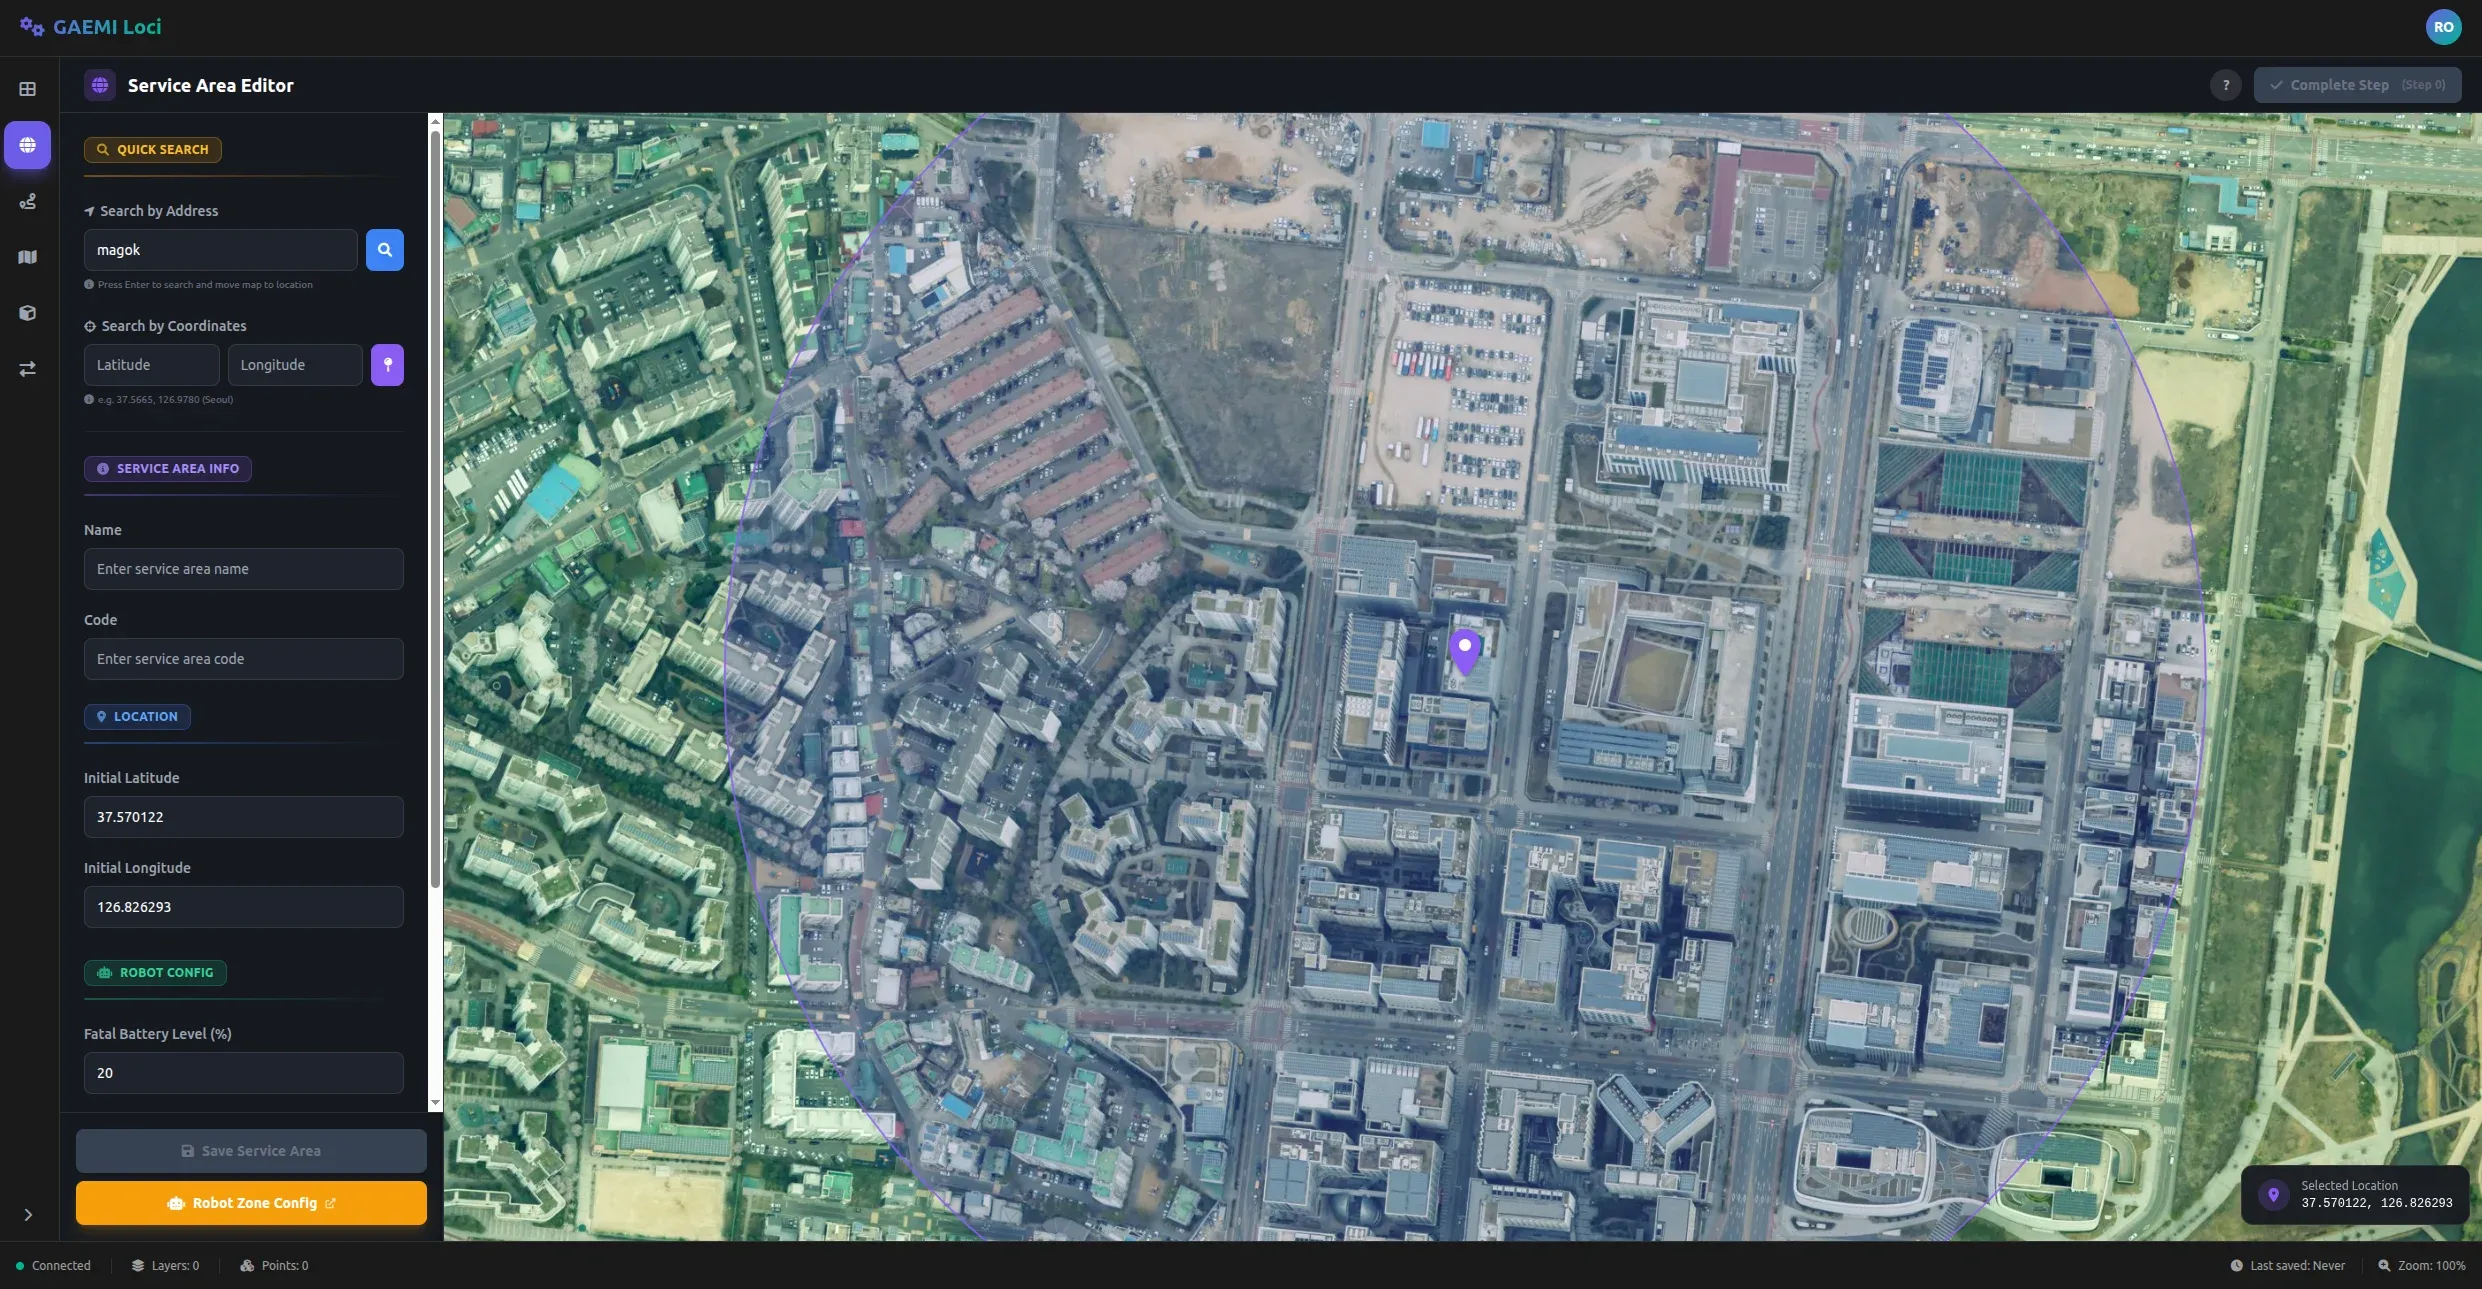
Left-click on the map to pin the exact center point of the service area. The coordinates of the clicked point are automatically populated in the Latitude and Longitude fields in the left panel.
To change the location, simply click a different point on the map.
4. Entering Information
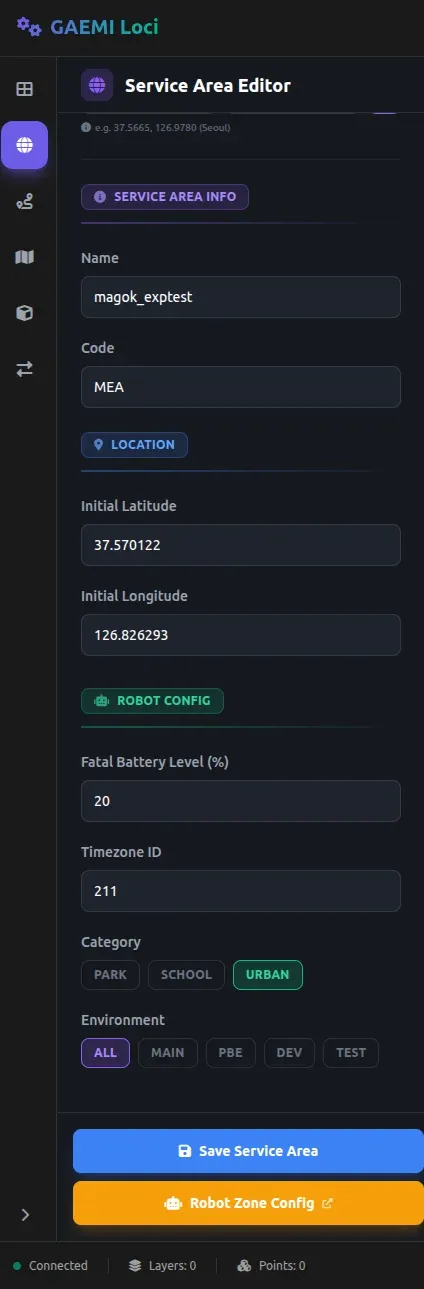
Fill in the Service Area details on the left panel.
| Field | Description | How to enter |
|---|---|---|
| Name | Service area name | Use the format (region)_(specific place). Example: magok_exptest. |
| Code | Unique identifier code | Use the first letters of the words in the Name. Example: if Name is magok_exptest, use something like MEA — the first two letters come from the Name and the last letter is chosen freely. |
| Category | Area type | Choose one of PARK, SCHOOL, or URBAN. |
| Environment | Target server | Choose which server the Service Area should be created on. |
The Environment options are:
| Option | Description |
|---|---|
| ALL | Adds the area to the MAIN, PBE, and DEV servers. Select ALL by default. |
| MAIN / PBE / DEV | Adds the area only to the selected server. |
| TEST | Runs a test only, without adding the area to any production server. |
Once every field is filled in, click the Save Service Area button at the bottom of the panel.
5. Confirming a Successful Save
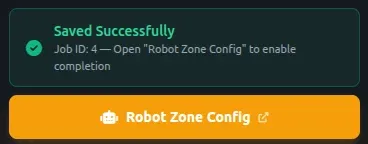
On a successful save, a green check icon appears along with a Saved Successfully message. Click the yellow Robot Zone Config button that appears below to go to the Bridge Server page.
6. Bridge Server Login
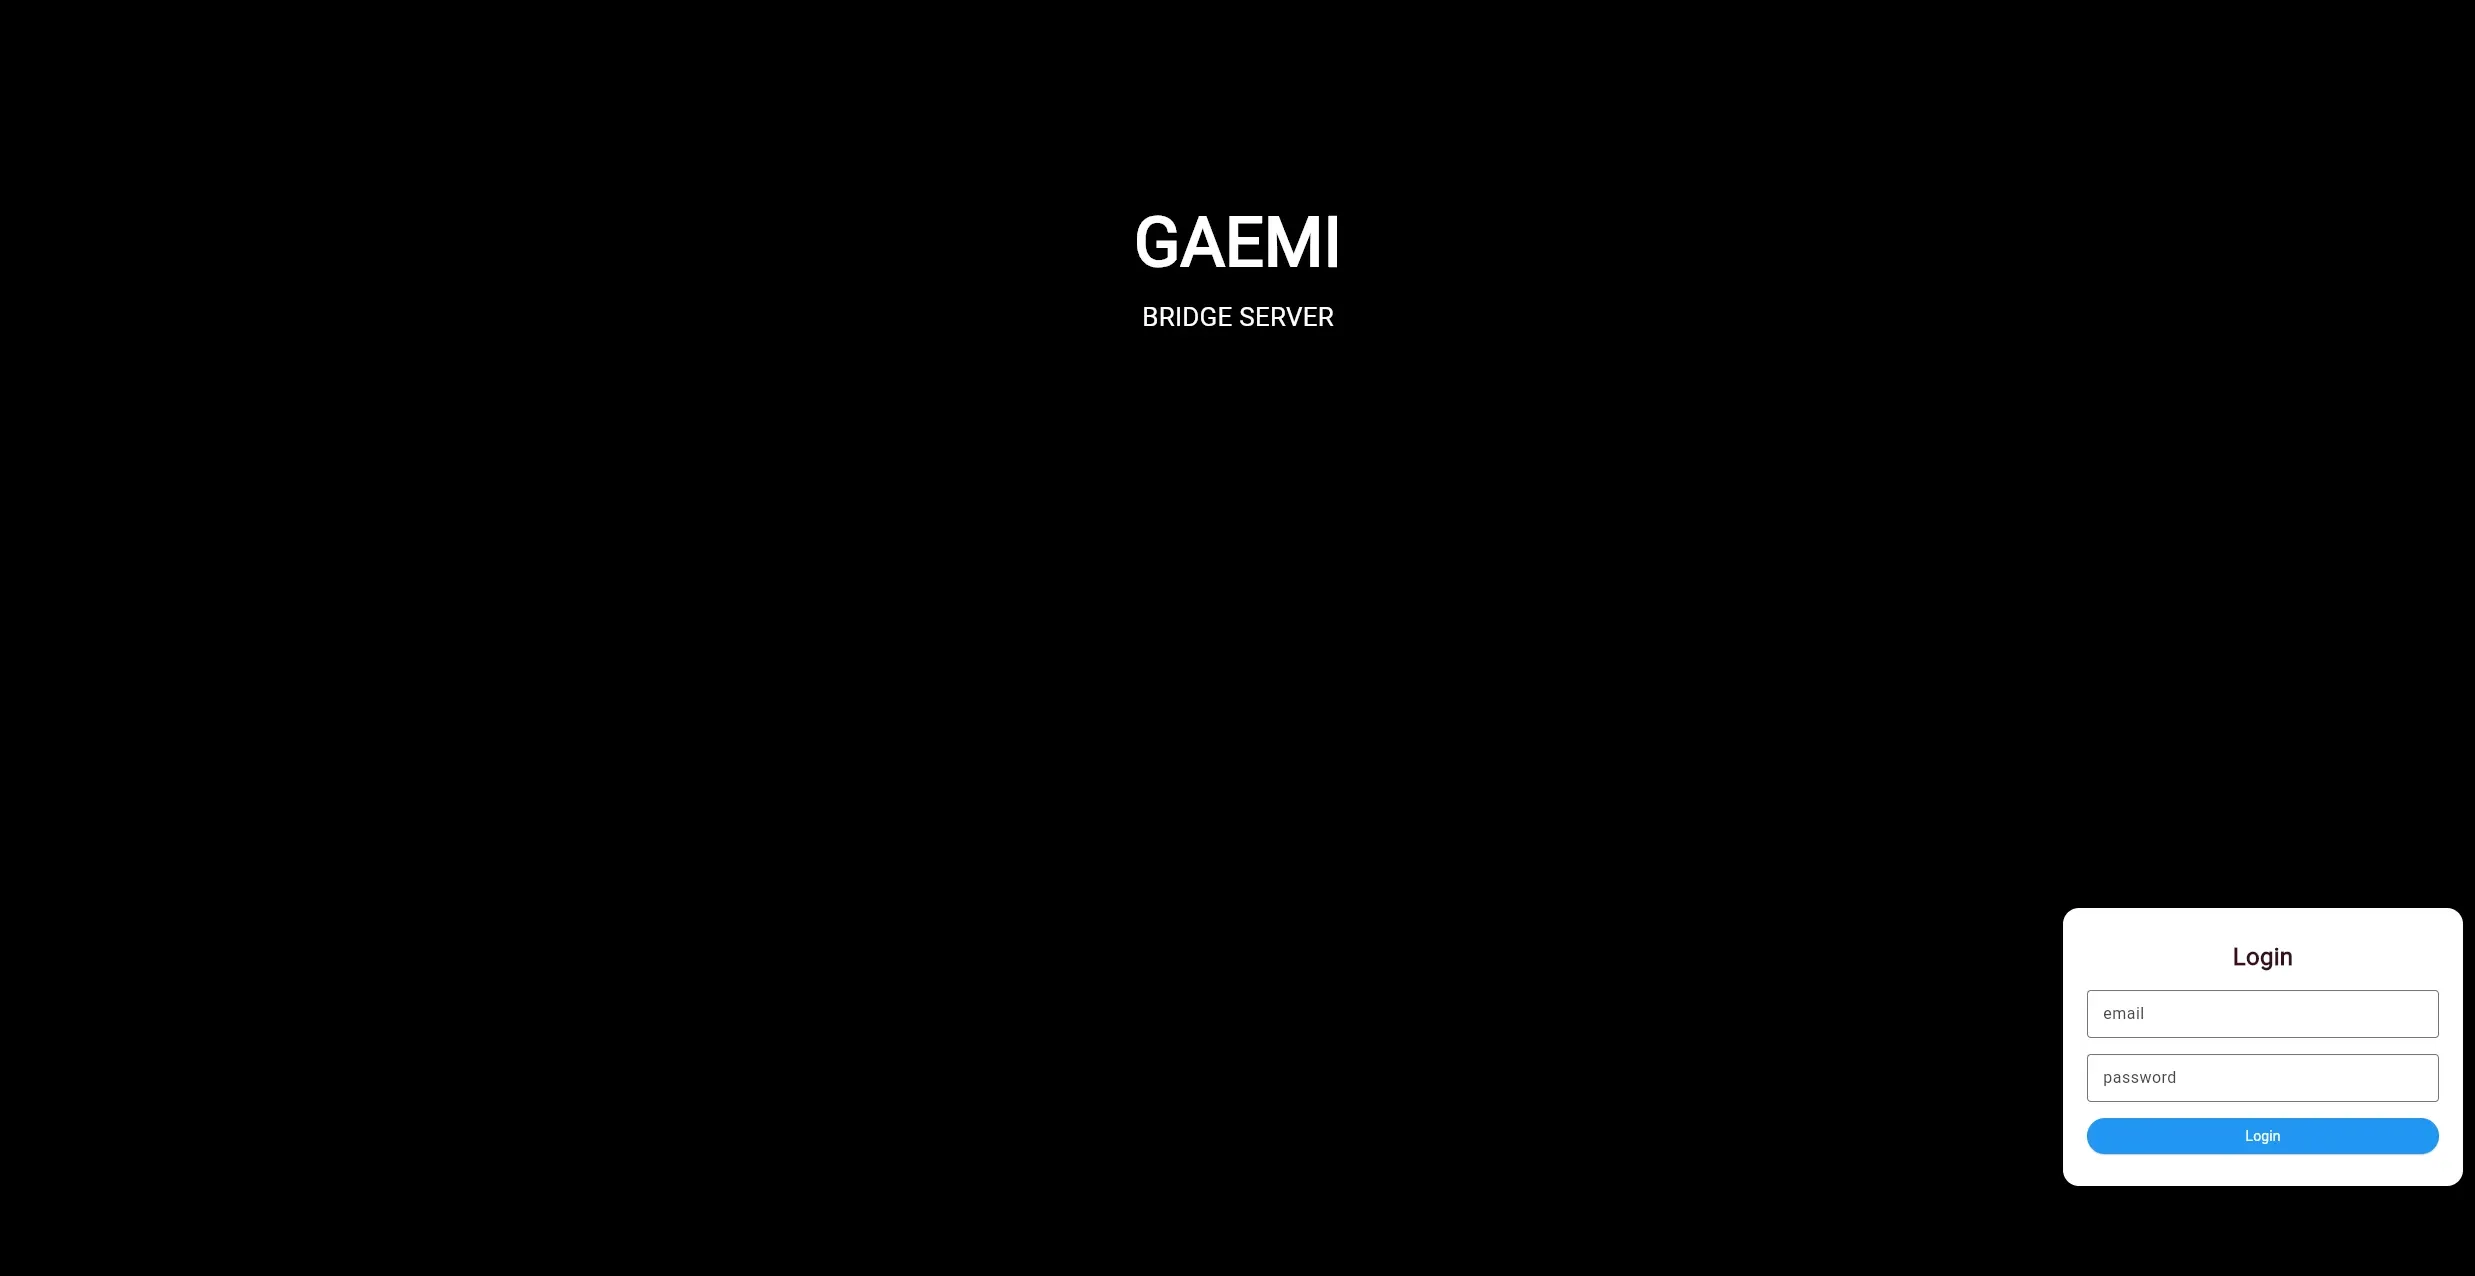
You need to sign in when the Bridge Server page opens. Enter the same email and password you use for FMS, and then click the Login button.
7. Configuring the Robot’s Service Area
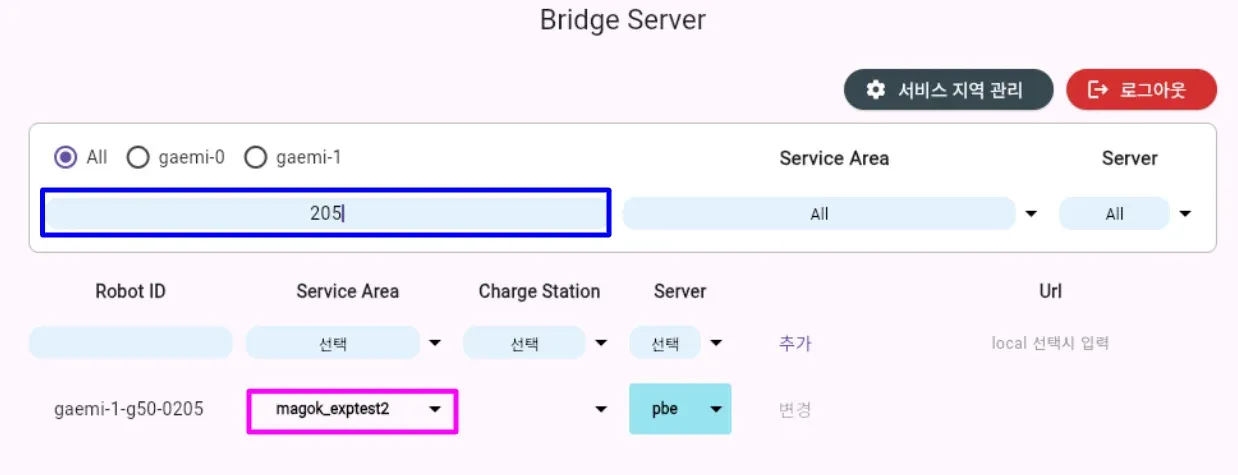
After logging in, change the robot’s Service Area.
- Search for the target robot in the area outlined in blue.
- Select the Service Area you just added in the area outlined in magenta.
8. Returning to GAEMI Loci
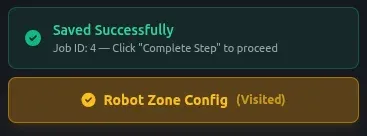
When you return to the GAEMI Loci page, the Robot Zone Config button now shows a (Visited) marker, and the guidance message changes to “Click Complete Step to proceed.”
9. Completing the Step
Once everything is done, the Complete Step button at the top right turns green and becomes active. Clicking it marks Step 0 as complete and lets you move on to the next one.